
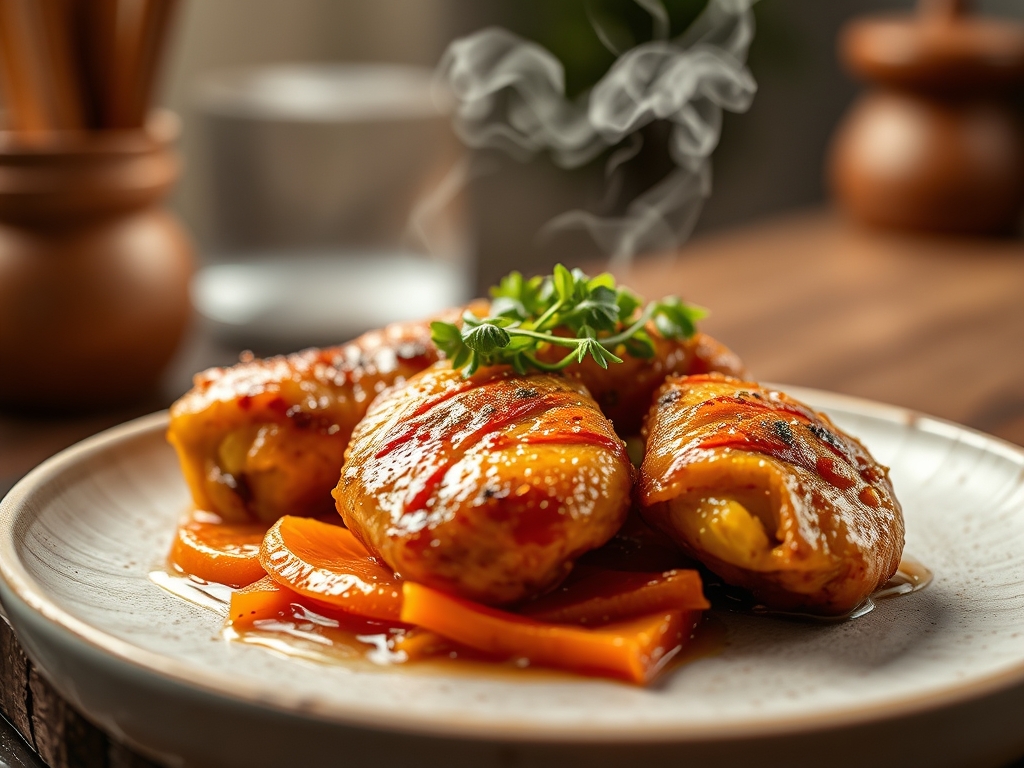
Imagine the sound of a heavy-bottomed skillet meeting the high heat of a gas flame; it is a sharp, metallic ring that promises something spectacular. Now, picture that first bite of citrus-glazed poultry where the exterior shatters like glass before giving way to succulent, steaming meat. Most home cooks assume that achieving this level of structural integrity requires a deep fryer and a gallon of oil, but mastering orange chicken recipes baked in your own oven is actually a masterclass in moisture management and heat distribution. We are moving beyond soggy, sad nuggets and entering the realm of high-end culinary physics. By manipulating surface area and starch gelatinization, you can create a crust that holds its own against a viscous, piquant sauce without losing its structural soul.
The secret lies in the delicate balance between the Maillard reaction and the evaporation of surface moisture. When you bake chicken at a high enough temperature, you are essentially mimicking the convective heat of a fryer without the greasy aftermath. This guide is your backstage pass to the chemistry of the crunch. We will explore how to aerate your breading, how to infuse your sauce with genuine zest using a microplane, and how to ensure your chicken remains tender while the exterior achieves a deep, mahogany brown. Whether you are a weekend warrior or a meal-prep maven, these techniques will elevate your kitchen game from simple assembly to professional execution.
The Gathers:
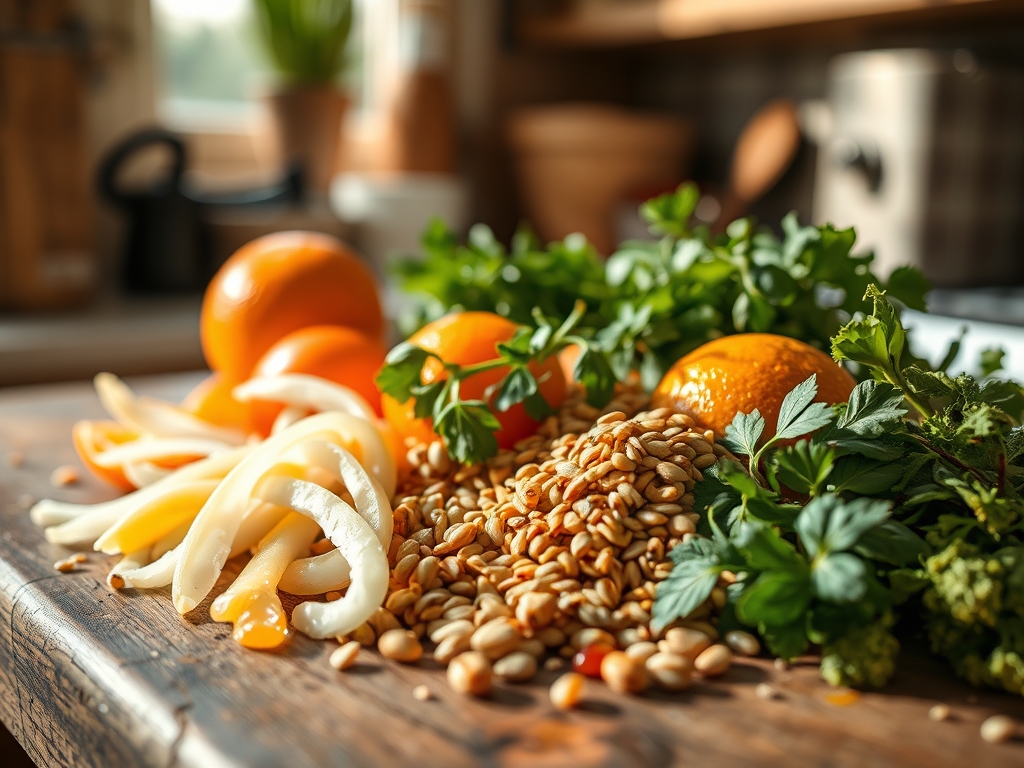
To begin your journey into orange chicken recipes baked to perfection, you must first assemble a mise-en-place that respects the chemistry of the dish. Start with two pounds of boneless, skinless chicken thighs; the higher fat content compared to breasts ensures the meat does not desiccate during the intense dry heat of the oven. For the coating, you will need cornstarch or arrowroot powder to provide that signature "snap," along with panko breadcrumbs for structural reinforcement. The sauce requires fresh oranges for zest and juice, soy sauce for umami depth, rice vinegar for acidity, and freshly grated ginger and garlic to provide a sharp, aromatic backbone.
Smart Substitutions: If you are navigating dietary restrictions, swap the soy sauce for liquid aminos or tamari to keep it gluten-free. For a lower-glycemic option, replace the brown sugar in the sauce with a touch of honey or a monk fruit sweetener; just be aware that honey will caramelize faster due to its fructose content. If you find yourself without cornstarch, potato starch is an excellent alternative that actually provides a slightly more durable crunch in high-heat environments. Always use a digital scale to measure your ingredients; precision is the difference between a sauce that coats the back of a spoon and one that runs right off the plate.
The Clock
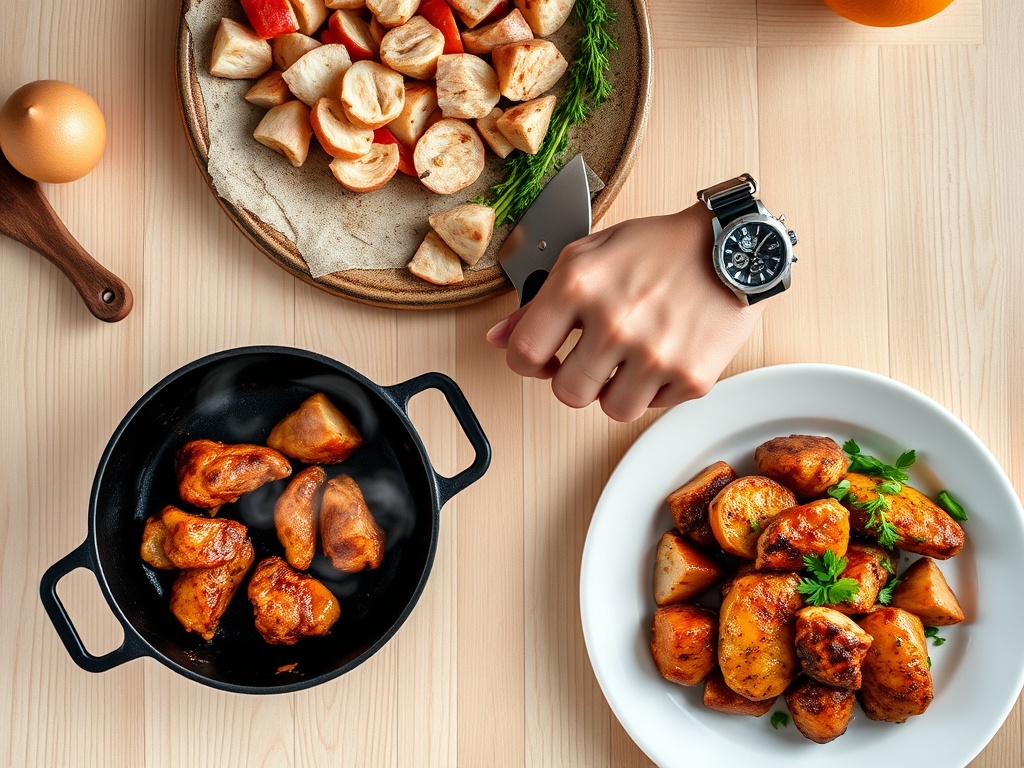
Efficiency in the kitchen is about "Chef's Flow," which means overlapping tasks to minimize downtime. Expect a total active prep time of 20 minutes and a bake time of 25 to 30 minutes. While your oven preheats to a blistering 425 degrees Fahrenheit, you should be dicing your chicken and preparing your dredging station. The "flow" dictates that while the chicken is rendering and crisping in the oven, you are at the stove using a saucier to reduce your glaze. By the time the chicken reaches its peak internal temperature, your sauce should be at the perfect viscosity to cling to every crevice. This synchronized timing ensures that the chicken is never sitting out long enough to become rubbery through thermal carryover.
The Masterclass
1. The Surface Preparation
Before any starch touches the meat, you must use paper towels to pat the chicken completely dry. Moisture is the enemy of the crunch; any surface water will turn to steam under heat, which leads to a soggy coating rather than a crisp one. Once dry, toss the pieces in a light dusting of cornstarch to create a "dry-dock" for the egg wash.
Pro Tip: This initial dusting utilizes hygroscopic properties to pull remaining moisture from the surface of the meat, creating a "glue" that prevents the breading from sliding off during the baking process.
2. The Double-Dredge Aeration
Dip the floured chicken into a whisked egg wash, then press it firmly into a mixture of panko and a tablespoon of neutral oil. Adding oil directly to the breading ensures that every crumb has a fat source to help it brown evenly in the oven, simulating the effects of frying.
Pro Tip: This technique encourages convective heat transfer within the crumb structure. The oil allows the heat to penetrate the panko evenly, resulting in a uniform golden-brown color without flipping the chicken constantly.
3. The Elevated Bake
Place a wire cooling rack on top of a rimmed baking sheet and arrange the chicken in a single layer. Do not crowd the pieces; air must circulate around all sides of the meat to ensure the bottom stays as crisp as the top.
Pro Tip: Elevating the meat prevents bottom-side steaming. By allowing hot air to flow underneath the chicken, you avoid the "soggy bottom" syndrome that plagues most orange chicken recipes baked on flat pans.
4. The Zest Infusion
While the chicken bakes, use a microplane to zest two oranges directly into your saucier. Add the juice, soy sauce, and aromatics. Bring the mixture to a simmer over medium heat, allowing the essential oils from the zest to infuse into the liquid.
Pro Tip: This process is called essential oil extraction. The heat breaks down the cellular walls of the citrus zest, releasing limonene, which provides that bright, floral punch that bottled juices lack.
5. The Emulsified Reduction
Whisk a small slurry of cornstarch and cold water into the simmering sauce. Stir constantly with a silicone whisk until the sauce transforms from a thin liquid to a glossy, translucent glaze that coats the back of a spoon.
Pro Tip: You are witnessing starch gelatinization. As the starch granules absorb the hot liquid and swell, they create a thick network that traps the flavors, ensuring the sauce stays on the chicken rather than pooling at the bottom of the bowl.
6. The Final Marriage
Once the chicken reaches an internal temperature of 165 degrees Fahrenheit, remove it from the oven and immediately toss it in a large stainless steel bowl with the warm sauce. Use tongs to gently fold the chicken so every piece is enveloped in the glaze.
Pro Tip: Speed is essential here to minimize moisture migration. If the chicken sits in the sauce too long before serving, the water in the sauce will move into the dry crust, softening your hard-earned crunch.
The Deep Dive
From a nutritional standpoint, orange chicken recipes baked in the oven significantly reduce the caloric density by eliminating the need for a deep-oil bath. A standard serving provides roughly 350 calories with a high protein-to-fat ratio. For those following a Keto lifestyle, replace the cornstarch with crushed pork rinds and use an erythritol-based sweetener for the glaze. If you are Vegan, cauliflower florets or firm tofu cubes respond beautifully to this exact double-dredge method.
The Fix-It: If your sauce is too thin, do not just add more starch; simmer it for another three minutes to allow for more evaporation. If your breading is falling off, it is likely because the chicken was too wet before the first dredge. If the sauce is too salty, a teaspoon of rice vinegar or a squeeze of fresh lime will provide the acidity needed to balance the sodium.
For meal prep, the "day-one" quality can be revived by avoiding the microwave. To reheat, place the chicken back on a wire rack in a 400-degree oven for six minutes. This re-evaporates any moisture that migrated into the crust during refrigeration, effectively "resetting" the crunch.
The Wrap-Up
Mastering the art of orange chicken recipes baked at home is about more than just following a list of ingredients; it is about respecting the science of heat and texture. By using the wire rack method and a precise cornstarch dredge, you have bypassed the mess of frying while achieving a professional-grade result. The kitchen should be a place of experimentation and joy, so do not be afraid to tweak the spice levels or add a splash of sesame oil for extra depth. You now have the tools and the knowledge to turn a weeknight staple into a gourmet experience that will have everyone asking for your secret.
The Kitchen Table
Can I use chicken breast instead of thighs?
Yes; however, chicken breasts lean toward dryness. To prevent this, cut them into uniform one-inch cubes and reduce the total baking time by five minutes. Always check the internal temperature with a digital thermometer to ensure it hits exactly 165 degrees.
Why is my orange sauce cloudy instead of clear?
Cloudiness usually occurs if you use flour instead of cornstarch as a thickener. Cornstarch creates a translucent, shiny finish because it lacks the proteins found in flour. Ensure your cornstarch slurry is fully dissolved in cold water before adding it to the heat.
How do I make the sauce spicier without ruining the flavor?
Incorporate red chili flakes or a teaspoon of sambal oelek during the reduction phase. This allows the capsaicin to infuse into the sauce evenly. Avoid adding hot sauce at the end, as the vinegar base can throw off the citrus balance.
Can I make this recipe entirely oil-free?
You can, but the "crunch" will be significantly less satisfying. A small amount of oil in the breading is necessary to facilitate even browning. If you must skip it, use an air fryer setting to maximize the intensity of the convective heat.
What is the best way to zest an orange?
Use a microplane and only grate the outermost orange layer. Avoid the white pith underneath; it is incredibly bitter and will ruin the delicate balance of your sauce. Rotate the fruit frequently to ensure you only collect the fragrant, oil-rich zest.