
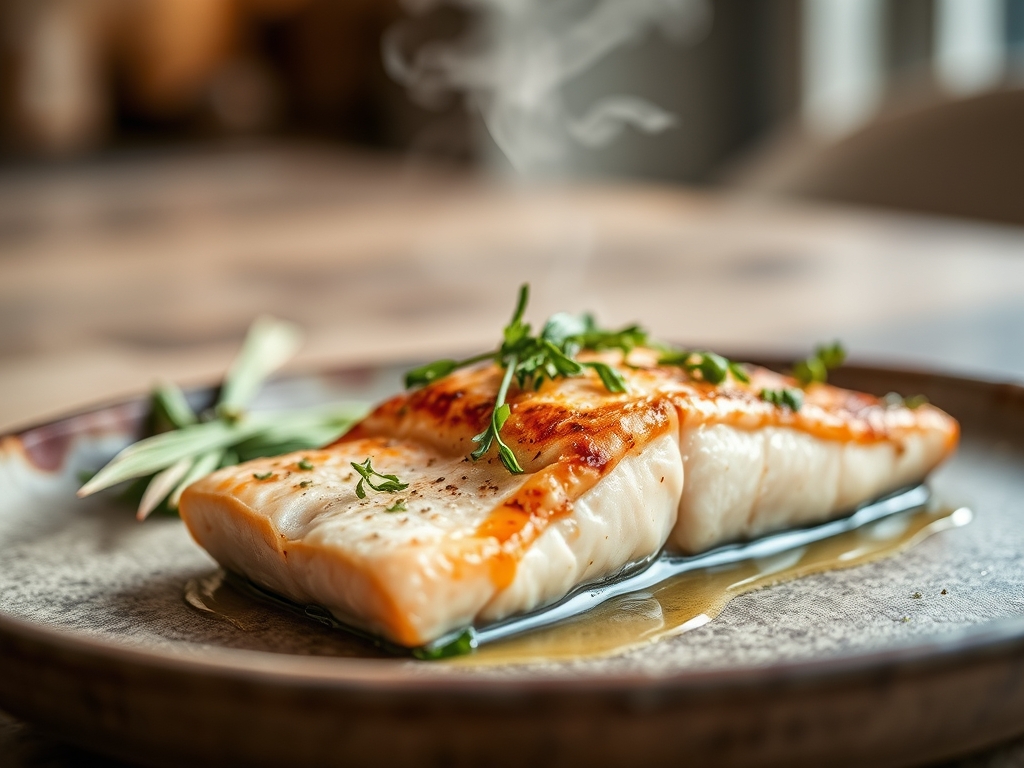
Imagine the sound of a heavy-bottomed cast iron skillet meeting a flame; it is a low, rhythmic hum that signals the start of something spectacular. When you dive into the world of ree drummond salmon recipes, you are not just making dinner; you are mastering the art of the perfect sear and the delicate flake. The air fills with the scent of browned butter and piquant lemon, transforming your kitchen into a rustic ranch sanctuary. We are looking for that elusive, glass-like skin and a center that remains succulent and translucent. It is a balance of high-heat physics and gentle flavor infusion that elevates a simple fillet into a centerpiece.
The magic of these dishes lies in the contrast between the crispy, salt-crusted exterior and the buttery, omega-3 rich interior. Whether you are glazing with honey or crusting with herbs, the goal is a harmonious marriage of texture and temperature. We are going to break down the chemistry of why certain fats work better than others and how to ensure your salmon never sees the dry, overcooked side of a pan again. Grab your favorite apron and a glass of crisp white wine; we are about to turn your kitchen into a high-end bistro with a dash of country charm.
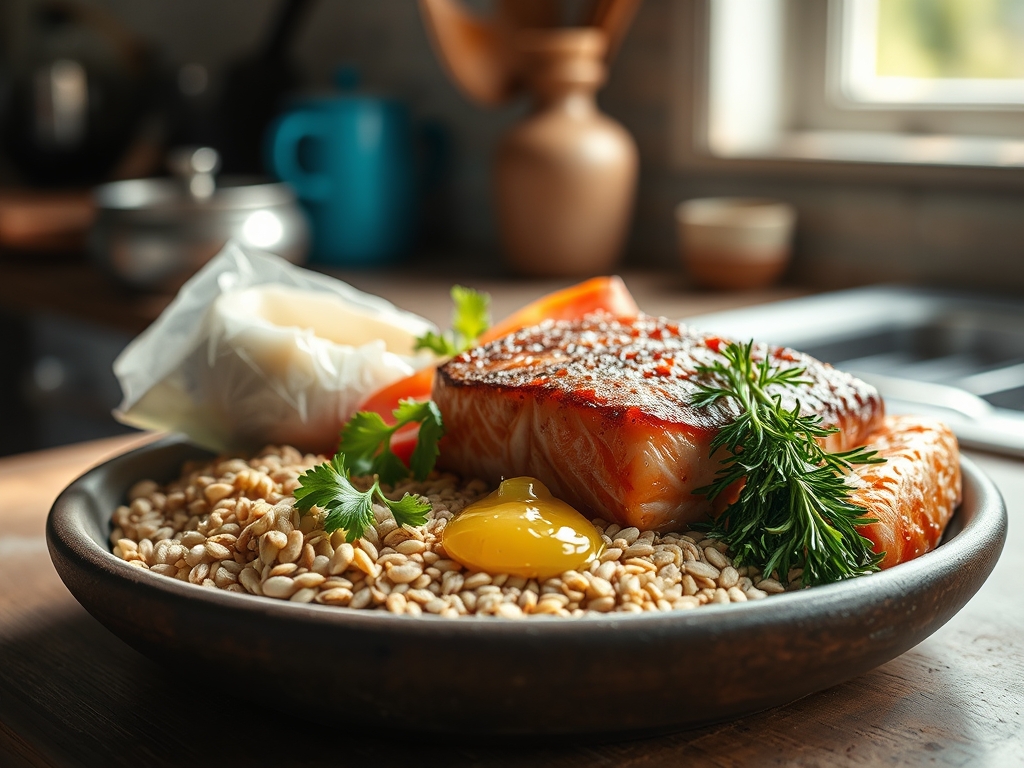
The Gathers:
To achieve the results found in top-tier ree drummond salmon recipes, your mise-en-place must be precise. Start with center-cut Atlantic or King salmon fillets; these offer the most uniform thickness for even thermal distribution. You will need a high-smoke-point oil like avocado or grapeseed oil to facilitate the Maillard reaction without scorching. For the flavor profile, gather fresh dill, cloves of garlic for infusing, and unsalted European-style butter, which has a higher fat content and lower water percentage for better browning.
Your toolkit is just as vital as your ingredients. Ensure you have a sharp microplane for zesting citrus, a set of offset tongs for delicate flipping, and a digital scale to ensure your portions are consistent. If you are making a reduction, a small saucier is better than a standard saucepan because its rounded bottom prevents whisking blind spots.
Smart Substitutions:
If you are out of fresh lemons, a splash of verjus or white balsamic vinegar provides that necessary acid to cut through the fatty lipids of the fish. No fresh dill? Dried tarragon offers a similar herbaceous depth with a slight anise finish. For a dairy-free richness, swap the butter for a dollop of refined coconut oil; it mimics the mouthfeel of saturated fats without adding a tropical flavor.
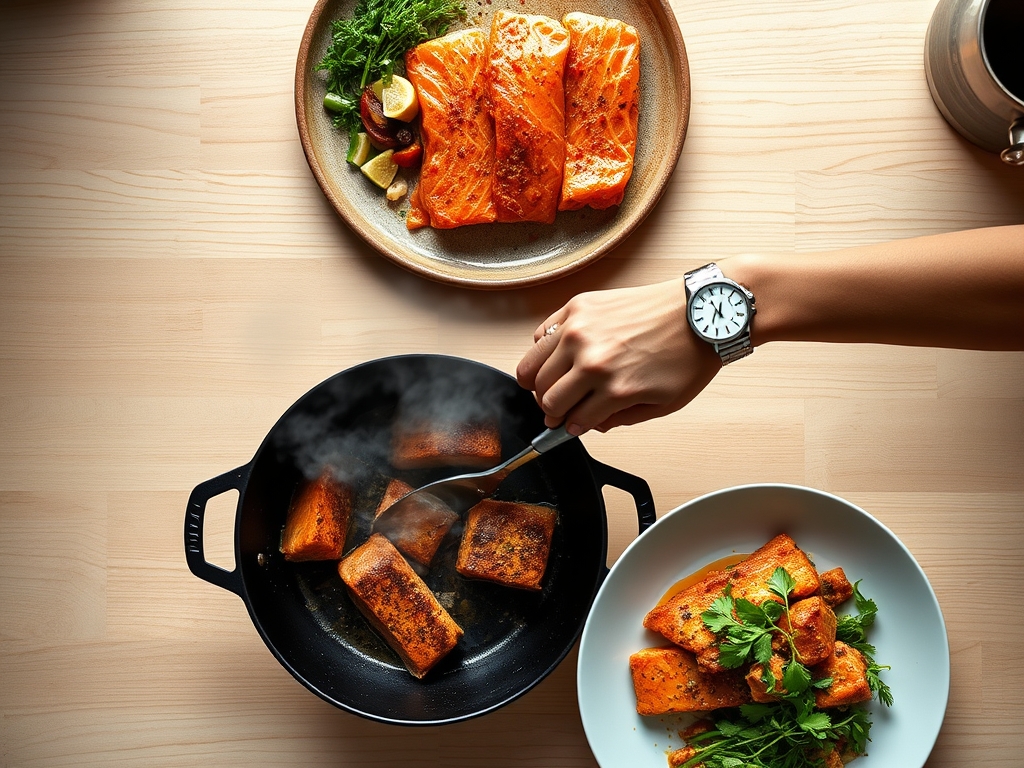
The Clock
Efficiency in the kitchen is all about "Chef's Flow," which is the sequence of operations that minimizes downtime. Total preparation for these recipes usually spans 15 minutes, while active cooking time is a swift 10 to 12 minutes. The secret is the tempering period. You must allow your salmon to sit at room temperature for at least 20 minutes before it touches the heat.
Cold proteins cause the muscle fibers to contract violently when hitting a hot pan, resulting in uneven cooking and a "seized" texture. Use this tempering time to prep your aromatics and preheat your oven if you are finishing the fish with a roast. By the time your skillet is shimmering, your salmon is relaxed and ready for a uniform sear.
The Masterclass
1. The Desiccation Ritual
Pat the salmon skin bone-dry using lint-free paper towels. Moisture is the enemy of a crisp crust; any residual water will create a steam barrier that prevents the skin from becoming brittle and delicious.
Pro Tip: This is known as surface evaporation. By removing moisture, you ensure the thermal energy goes directly into browning the skin rather than boiling away water.
2. The High-Heat Introduction
Heat your heavy-bottomed skillet until the oil just begins to wisps of smoke. Place the salmon skin-side down and press firmly with a fish spatula for thirty seconds to prevent the skin from curling.
Pro Tip: Pressing the fish ensures full contact with the pan, which facilitates conductive heat transfer. This prevents the natural collagen in the skin from shrinking and pulling the meat away from the heat source.
3. The Gentle Render
Lower the heat to medium. Allow the fat beneath the skin to render out slowly. This essentially fries the skin in its own natural oils, creating a parchment-thin, cracker-like texture.
Pro Tip: This slow render prevents the albumin (that white protein) from pushing out of the muscle fibers too quickly, keeping the fillet aesthetically pleasing and moist.
4. The Butter Baste
In the final two minutes, drop a knob of butter, smashed garlic, and thyme into the pan. Use a large spoon to continuously bathe the top of the salmon in the foaming fat.
Pro Tip: This technique, called arroser, uses the butter as a heat-transfer medium to cook the top of the fish gently while infusing it with fat-soluble aromatics.
5. The Flip and Kiss
Turn the salmon over for a mere 30 to 60 seconds. This "kisses" the flesh side with heat just enough to finish the internal temperature without toughening the delicate proteins.
Pro Tip: Use a digital thermometer to pull the fish at 125 degrees Fahrenheit. Thermal carryover will bring it to a perfect 130 degrees as it rests.
6. The Rest Period
Move the salmon to a warm plate or a wooden cutting board. Let it rest for three to five minutes before serving to allow the internal juices to redistribute.
Pro Tip: Resting allows the viscous juices to move back toward the center of the fillet. If you cut it immediately, the moisture will leak out, leaving the fish dry.
The Deep Dive
From a macro perspective, salmon is a nutritional powerhouse, offering high-quality protein and essential Vitamin D. To keep it Keto-friendly, focus on heavy herb-butter finishes and avoid honey-based glazes. For a Vegan alternative that mimics the experience, use thick slabs of "King Oyster" mushrooms seared with the same technique; they have a similar umami profile and meaty texture.
The Fix-It:
- Skin Sticking: This usually means you tried to flip too early. The fish will naturally release from the pan once the Maillard reaction is complete.
- White Gunk (Albumin): This is a sign of high heat. To fix, simply scrape it off gently with a bench scraper and lower your temperature next time.
- Soggy Bottom: If your salmon sits in its own juices on the plate, the skin will soften. Rest it on a wire rack to maintain airflow.
Meal Prep: To reheat salmon without it turning into "fish jerky," avoid the microwave. Instead, use a low oven (275 degrees) with a splash of water and a foil cover to create a gentle steam chamber that preserves the moisture.
The Wrap-Up
Mastering ree drummond salmon recipes is about more than just following a list of steps; it is about intuition and understanding the science of the sear. When you see that golden-brown crust and feel the flake of the fish under your fork, you will know you have graduated from home cook to culinary artist. Don't be afraid to experiment with different aromatics or citrus finishes. The kitchen is your laboratory, and every meal is a chance to refine your craft. Now, go forth and sear with confidence!
The Kitchen Table
How do I prevent salmon from smelling "fishy"?
Always buy high-quality, fresh fish and rinse it with cold water. Pat it dry and use an acid like lemon or lime juice during the cooking process to neutralize trimethylamine, the compound responsible for that pungent odor.
Can I cook salmon straight from the freezer?
It is not recommended. For the best texture, thaw salmon overnight in the refrigerator. Cooking from frozen leads to an overcooked exterior and a raw, icy center because the thermal gradient is too steep for even cooking.
What is the best pan for searing salmon?
A cast iron skillet or stainless steel pan is best. These materials hold heat exceptionally well, ensuring the pan temperature doesn't drop when the cold fish is added, which is crucial for achieving a crispy, non-stick skin.
How do I know when salmon is perfectly done?
The most reliable method is using an instant-read thermometer to hit 125-130 degrees Fahrenheit. Visually, the fish should be opaque on the outside but still slightly translucent and "flaky" in the very center when pressed with a fork.