
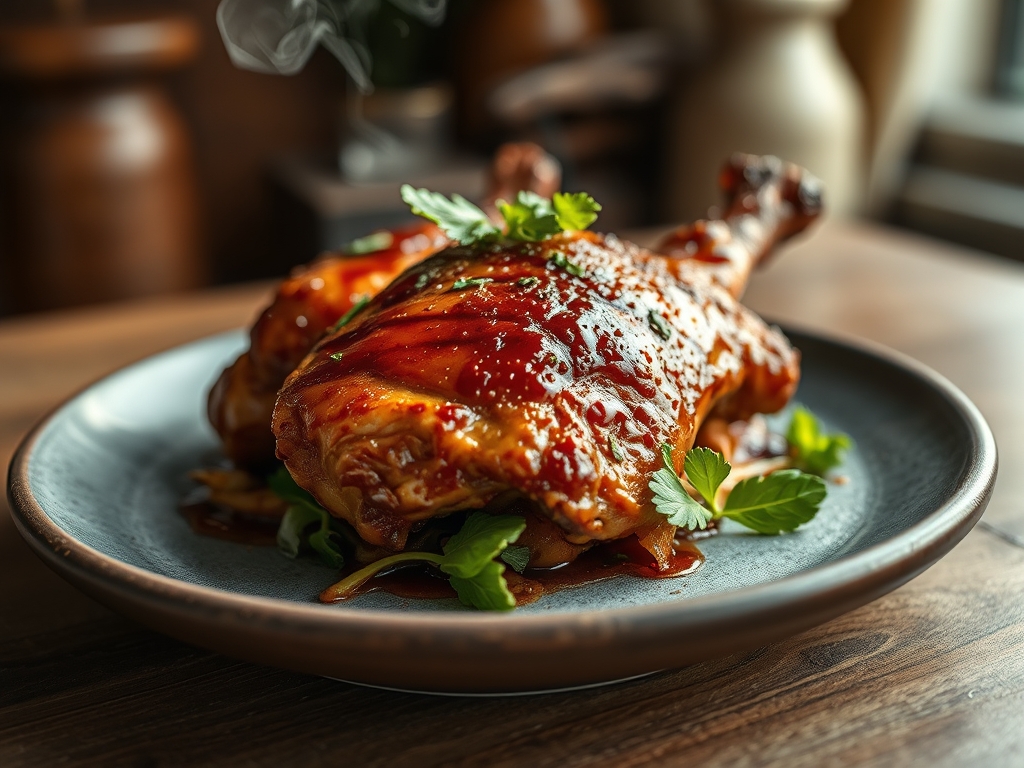
Picture this. The sun is dipping low; the air is thick with the scent of charred hickory and that specific, sweet tang of caramelizing sugars. You are holding a plate of chicken so glossy it looks lacquered. When you take a bite, the skin shatters like glass, revealing meat that is impossibly tender and dripping with juice. This is the gold standard for top bbq chicken recipes. We are moving past the days of scorched skin and raw centers. We are moving into the realm of backyard alchemy where heat, smoke, and chemistry collide to create the perfect meal.
Achieving this level of mastery requires more than just a bottle of sauce and a prayer. It requires an understanding of how proteins respond to thermal stress and how sugars undergo the Maillard reaction without turning into carbon. Whether you are a seasoned pitmaster or a weekend warrior, the secrets to the best poultry lie in the details. We are going to dive deep into the mechanics of the grill, from the way moisture behaves under a lid to the specific viscosity of a world class glaze. Get ready to transform your patio into a five star smokehouse.

The Gathers:
Before you even strike a match, your mise-en-place must be flawless. Start with your protein. For the most forgiving results, choose bone-in, skin-on thighs. The bone acts as a thermal conductor; it distributes heat evenly from the inside out while the marrow adds a deep, savory richness. You will need a high quality kosher salt. Its jagged crystal structure allows it to adhere to the skin better than fine table salt. For the rub, gather smoked paprika for color, garlic powder for a piquant punch, and mustard powder to act as a bridge between the fat and the spices.
Your sauce is the soul of the dish. A truly viscous sauce requires a balance of tomato solids, vinegar for acidity, and a sweetener like molasses or brown sugar. Use a saucier to simmer your sauce; the rounded bottom prevents scorching at the edges. You will also need a high smoke point oil, such as grapeseed or avocado oil, to coat the grates.
Smart Substitutions:
If you are out of honey, use maple syrup for a woodier profile. No apple cider vinegar? Rice vinegar offers a similar acidity with a softer finish. If you want a kick without the heat, swap chili powder for ground ancho chiles to get that deep, raisin-like sweetness.
The Clock
Efficiency in the kitchen is all about the "Chef's Flow." This is the rhythmic sequence of tasks that ensures nothing is rushed and nothing is forgotten. Your total active time will be about 20 minutes, but the passive time is where the magic happens.
Prep Time: 15 minutes (Trimming and seasoning).
Dry Brine Time: 2 to 24 hours (Crucial for skin dehydration).
Cook Time: 35 to 45 minutes (Depending on your heat source).
Rest Time: 10 minutes (Essential for fiber relaxation).
The flow begins the night before. By salting your chicken early, you allow the salt to penetrate the muscle fibers. While the grill preheats, you prepare your glazes and tools. This prevents the "panic scramble" where you are searching for your tongs while the chicken flares up.
The Masterclass
1. The Dry Brine Technique
Pat the chicken extremely dry with paper towels. Apply a generous coating of kosher salt and let it sit uncovered in the refrigerator on a wire rack. This allows air to circulate around the entire piece of meat.
Pro Tip: This process uses osmosis to draw moisture out of the skin and then pull the seasoned brine back into the meat. It breaks down the protein structure, ensuring the chicken stays juicy even under high heat.
2. Tempering the Meat
Remove the chicken from the fridge 30 minutes before grilling. Use a digital scale to ensure your pieces are relatively uniform in weight for even cooking.
Pro Tip: Bringing the meat closer to room temperature prevents thermal shock. If cold meat hits a hot grate, the fibers contract violently, squeezing out precious juices before the cooking even begins.
3. Two-Zone Grilling
Set up your grill with a hot side and a cool side. Place the chicken skin-side down on the cool side first. Close the lid to create an oven-like environment.
Pro Tip: This is called indirect convection. It allows the fat to render slowly. If you start over direct flames, the fat will liquefy too fast, causing flare-ups that result in a bitter, sooty flavor.
4. The Skin Crisp
Once the internal temperature reaches 145 degrees Fahrenheit, move the chicken to the hot side. Use your tongs to press the skin firmly against the grates for 2 to 3 minutes.
Pro Tip: This triggers the Maillard reaction. This chemical reaction between amino acids and reducing sugars creates hundreds of different flavor compounds and that signature golden brown color.
5. Layering the Glaze
Wait until the last 5 to 10 minutes of cooking to apply your sauce. Use a silicone brush to paint thin layers, allowing each layer to "set" before adding the next.
Pro Tip: Most BBQ sauces have a high sugar content. If applied too early, the sugar will undergo pyrolysis (burning) at temperatures above 350 degrees Fahrenheit, turning your dinner black and acrid.
6. Monitoring Internal Temps
Use a digital thermometer to check the thickest part of the thigh. You are looking for 165 degrees Fahrenheit for white meat and 175 degrees for dark meat.
Pro Tip: Dark meat contains more collagen. Cooking it to a slightly higher temperature allows that collagen to gelatinize, which provides a silky, succulent mouthfeel that lower temperatures cannot achieve.
7. The Rest Period
Transfer the chicken to a warm platter. Do not tent it tightly with foil; this will steam the skin and make it soft. Let it rest for at least 10 minutes.
Pro Tip: Resting allows for moisture redistribution. As the meat cools slightly, the muscle fibers relax and reabsorb the juices. If you cut it too soon, the liquid will run out onto the board.
The Deep Dive
Macro Nutrition:
A standard serving of BBQ chicken (one thigh) provides roughly 25 grams of protein and 15 grams of fat. The caloric density varies based on the sugar content of your sauce. To keep it lean, opt for a vinegar-based "mop" rather than a thick, molasses-heavy glaze.
Dietary Swaps:
For a Keto version, replace the sugar in your sauce with monk fruit sweetener or erythritol. For a Vegan alternative, use the same seasoning profile on oyster mushrooms; their fibrous texture mimics chicken remarkably well. If you are Gluten-Free, ensure your Worcestershire sauce and liquid smoke are certified GF.
The Fix-It:
- Rubbery Skin: This happens when the fat hasn't rendered. Fix it by finishing the chicken under a high broiler for 60 seconds.
- Dry Meat: If you overshot the temp, shred the meat and toss it with a bit of warm chicken stock and extra sauce to rehydrate the fibers.
- Burnt Bottoms: Use a bench scraper to gently remove any charred bits from the grates before they fuse to the meat.
Meal Prep:
When reheating, avoid the microwave. It vibrates water molecules too fast, toughening the protein. Instead, use an air fryer at 350 degrees for 5 minutes. This restores the skin's crispness and maintains the internal moisture.
The Wrap-Up
Mastering top bbq chicken recipes is a journey of both art and science. By focusing on moisture control, heat management, and the chemistry of your glaze, you elevate a simple bird into a culinary masterpiece. Remember to respect the rest time and always use a thermometer; guessing is the enemy of greatness. Now, grab your tongs, fire up those coals, and show the neighborhood what a real pitmaster can do. Your best BBQ chicken isn't just a meal; it is a core memory in the making.
The Kitchen Table
How do I prevent chicken from sticking to the grill?
Ensure your grates are scrubbed clean and highly seasoned. Wipe them with a paper towel soaked in high smoke point oil right before adding the meat. Cold meat sticks more easily; let it temper first.
Should I leave the lid open or closed?
Keep the lid closed for the majority of the cook. This creates a convection current that cooks the chicken evenly from all sides. Only open it to flip or apply the final glaze layers.
Can I use frozen chicken for BBQ?
You can, but it must be fully thawed in the refrigerator first. Cooking from frozen leads to uneven heat distribution; the outside will burn before the inside reaches a safe temperature.
Why is my BBQ sauce sliding off the chicken?
The chicken skin is likely too oily. Pat the skin dry and apply a light dusting of cornstarch or flour before grilling. This creates a "tooth" for the sauce to cling to during the final glaze.