
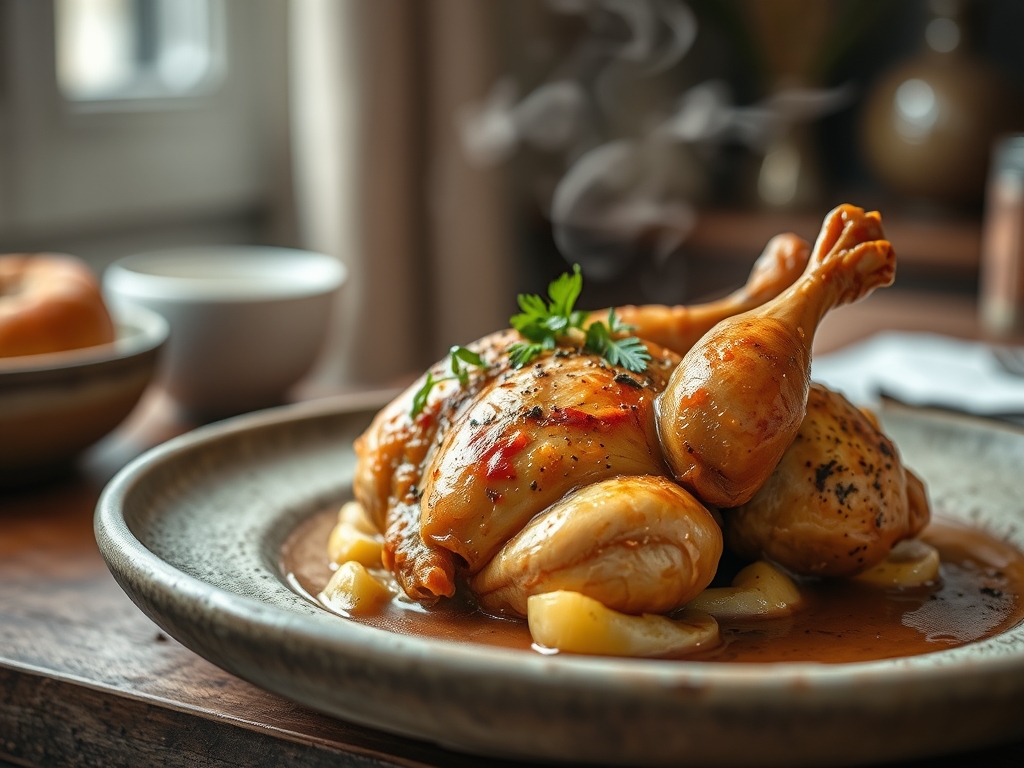
Picture the scene. You pull a heavy, enameled cast iron vessel from the oven and the steam hits you like a warm, savory hug. The skin is a mosaic of shattered gold; the meat is so tender it practically sighs off the bone. Mastering dutch oven roasted chicken recipes is less about luck and more about harnessing the physics of heat. It is the ultimate culinary flex.
The magic happens because of the pot itself. A dutch oven acts as a tiny, pressurized sauna that forces moisture back into the bird while the heavy lid traps volatile aromatic compounds. You are not just cooking dinner; you are conducting a symphony of browning and braising. Whether you are a seasoned pro or a kitchen novice, understanding the "why" behind the sizzle transforms a simple Sunday bird into a legendary meal that lingers in your memory long after the last bite.
The Gathers:
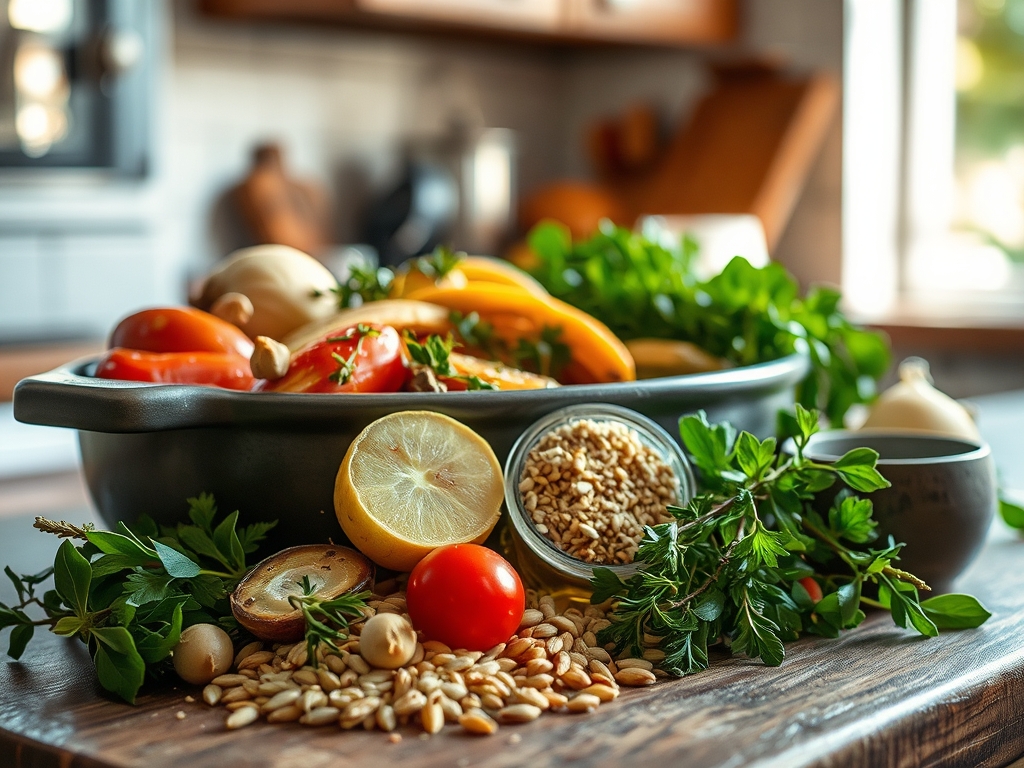
To achieve greatness, your mise-en-place must be impeccable. Start with a four-pound organic bird, ensuring it is brought to room temperature to prevent thermal shock. You will need high-quality fats; unsalted European butter provides a rich mouthfeel while avocado oil offers a high smoke point for the initial sear. For the aromatics, gather whole garlic bulbs, sprigs of woody rosemary, and thick-cut mirepoix (carrots, celery, and onions).
The salt is non-negotiable. Use flaky kosher salt to draw out moisture through osmosis, which eventually creates that coveted crisp skin. For a piquant kick, keep a microplane nearby to zest a fresh lemon directly over the cavity.
Smart Substitutions:
If you lack fresh herbs, a concentrated poultry rub works, but reduce the salt ratio. Swap butter for ghee if you need a higher smoke point or a dairy-free profile. For a keto-friendly version, replace the carrots with radishes; they lose their peppery bite and mimic the texture of roasted potatoes once they render in the chicken fat.
The Clock
Efficiency in the kitchen is about the Chef's Flow. This is the rhythmic transition from prep to plate without wasted motion.
- Prep Time: 20 minutes. This includes patting the bird dry (essential for the Maillard reaction), trussing, and chopping aromatics with a sharp chef's knife.
- Cook Time: 60 to 75 minutes. This varies based on the thermal conductivity of your specific pot.
- Resting Time: 15 minutes. This is the most difficult but vital step.
The total commitment is roughly two hours. While the bird roasts, use the "down time" to clean your station with a bench scraper or prepare a bright side salad to balance the heavy fats of the roast.
The Masterclass
1. The Desiccated Surface
Use paper towels to aggressively dry the skin. Any residual moisture will turn to steam, preventing the skin from crisping. Use your fingers to separate the skin from the breast meat, creating a pocket for seasoned butter.
Pro Tip: This is about evaporative cooling. If the surface is wet, the energy of the oven goes into evaporating water rather than browning the proteins. A dry bird browns faster and more evenly.
2. The Strategic Sear
Heat your dutch oven on the stovetop over medium-high heat with a splash of oil. Use heavy-duty tongs to sear the chicken breast-side down for three minutes before flipping. This jumpstarts the color.
Pro Tip: This utilizes the Maillard reaction, a chemical reaction between amino acids and reducing sugars that creates hundreds of different flavor compounds. Starting on the stove ensures the bottom of the pot is hot enough to caramelize the vegetables later.
3. The Aromatic Bed
Lift the bird and scatter your mirepoix and garlic at the bottom. Place the chicken on top of the vegetables. The veg acts as a natural roasting rack, preventing the bottom of the bird from boiling in its own juices.
Pro Tip: This is infusion via conduction. As the vegetables release their water, the steam carries the essential oils of the herbs and garlic directly into the meat from the bottom up.
4. The Low and Slow Phase
Cover the pot and move it to a 325-degree oven. This gentle heat ensures the connective tissues (collagen) break down into gelatin without the muscle fibers tightening and squeezing out the juice.
Pro Tip: This step focuses on collagen denaturation. Slow heating transforms tough connective tissue into a viscous, lip-smacking gelatin, which provides the "succulent" texture we crave.
5. The Lid-Off Blast
For the final 20 minutes, remove the lid and increase the heat to 425 degrees. This allows the trapped steam to escape and the skin to dehydrate and crisp into a golden crust.
Pro Tip: This is convection roasting. By removing the lid, you allow dry, hot air to circulate rapidly, which finishes the browning process that was paused during the steaming phase.
6. The Deglaze
Once the chicken is removed, place the pot back on the burner. Pour in a splash of dry white wine or stock. Use a saucier whisk to scrape up the brown bits (the fond) from the bottom.
Pro Tip: This is deglazing. The fond is a concentrated explosion of flavor. By adding liquid, you dissolve these caramelized proteins to create a pan sauce with incredible depth.
7. The Carryover Rest
Transfer the chicken to a warm board. Do not tent it tightly with foil, as this will steam the skin and make it soggy. Let it sit for at least 15 minutes.
Pro Tip: This accounts for thermal carryover. The internal temperature will rise by 5 to 10 degrees after removal. Resting allows the muscle fibers to relax and reabsorb the internal juices.
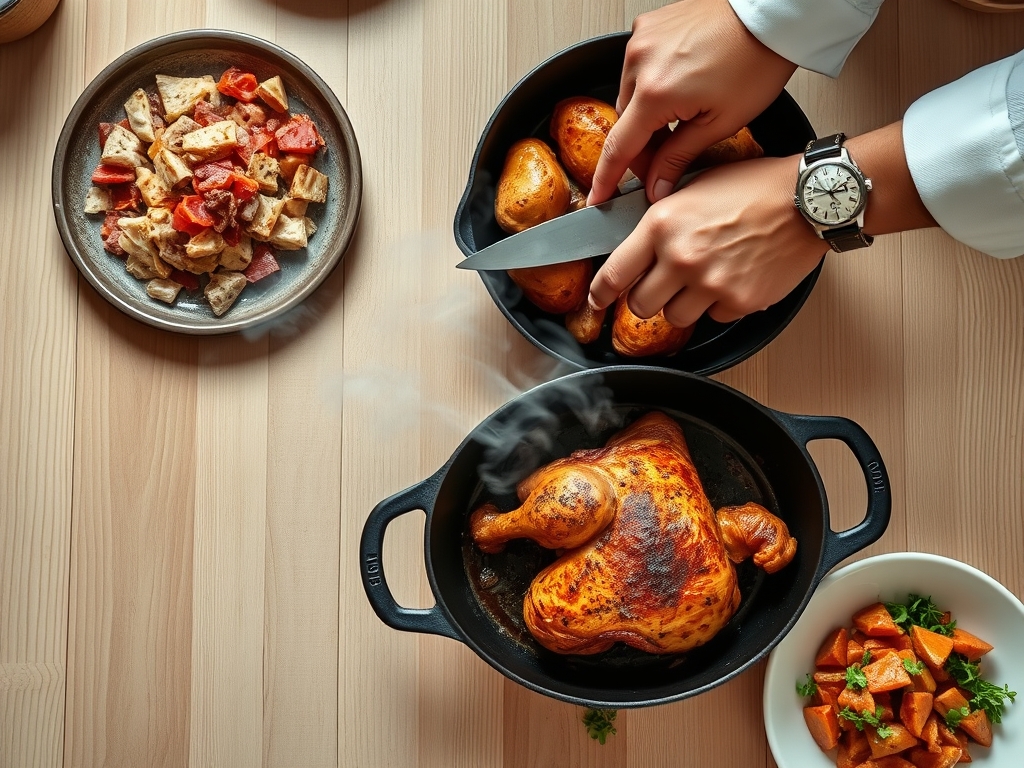
8. The Precision Carve
Use a sharp carving knife to separate the joints. Use a digital scale if you are tracking portions, ensuring everyone gets a mix of dark and white meat.
Pro Tip: Gravity is your friend here. Carving against the grain ensures the shortest possible muscle fibers, resulting in a more tender mouthfeel.
The Deep Dive
Macro Nutrition: A standard 6-ounce serving of dutch oven roast chicken provides roughly 45g of protein and 12g of fat. It is naturally low-carb and high in essential minerals like selenium and phosphorus.
Dietary Swaps:
- Vegan: Swap the chicken for a whole head of cauliflower. Use olive oil instead of butter and reduce roasting time to 40 minutes.
- Keto: Ensure your aromatics are low-sugar. Avoid carrots and use plenty of grass-fed butter to hit your fat macros.
- GF: This recipe is naturally gluten-free. Just ensure your chicken stock or wine is certified.
The Fix-It:
- Soggy Skin: Your oven temperature was too low during the final phase. Fix it by popping the bird under the broiler for 120 seconds.
- Dry Breast: You likely skipped the rest. If it is already cut, drizzle with a warm, fatty pan sauce to reintroduce moisture.
- Burnt Bottom: Your vegetables were cut too small. Next time, use larger chunks of onion to act as a more substantial heat shield.
Meal Prep: To maintain "day-one" quality, reheat leftovers in a covered dish with two tablespoons of water at 300 degrees. This creates a gentle steam that prevents the proteins from becoming rubbery.
The Wrap-Up
Mastering the art of the bird is a rite of passage for any home cook. By focusing on the science of heat transfer and the chemistry of browning, you elevate a simple ingredient into a masterpiece. Remember to dry that skin, trust the rest, and always deglaze the fond. Now, grab your favorite heavy pot and get roasting; your kitchen is about to smell like heaven.
The Kitchen Table
Can I cook a frozen chicken in a dutch oven?
It is not recommended. The exterior will overcook and become rubbery before the center reaches a safe temperature. Always thaw your bird completely in the refrigerator for 24 hours to ensure even heat distribution and food safety.
What is the best size dutch oven for roasting?
A 5.5-quart or 6-quart round dutch oven is the industry standard. It provides enough surface area for the vegetables to caramelize without being so large that the pan juices evaporate and burn too quickly.
Why is my chicken skin not crispy?
Excess moisture is the culprit. If you do not pat the skin dry or if you leave the lid on for the entire duration, the skin steams instead of roasts. Ensure the final 20 minutes are lid-free.
Do I need to use a roasting rack?
In a dutch oven, a bed of thick-cut vegetables (onions, carrots, potatoes) acts as a superior, flavorful roasting rack. It elevates the bird while seasoning the drippings for your pan sauce simultaneously.
How do I know the chicken is done without a thermometer?
Pierce the thigh with a knife. If the juices run clear rather than pink, it is likely done. However, for perfect results, use a digital thermometer to hit 165 degrees Fahrenheit in the thickest part of the thigh.