
The hiss of the steam release valve is the modern dinner bell; it is a sound that signals the transformation of raw collagen into silk. When you are staring at a pack of poultry and a ticking clock, you need more than just a meal. You need the absolute star instant pot chicken recipes that leverage pressure and precision to deliver restaurant-quality results in under thirty minutes. We are talking about thighs that fall apart at the mere suggestion of a fork and breasts that retain their cellular moisture despite the intense heat. This is not just convenience cooking; it is a masterclass in controlled thermodynamics. By manipulating atmospheric pressure, we force heat into the center of the protein faster than any traditional oven ever could. The result is a collection of dishes that taste like they have been simmering on a back burner for six hours, while you have actually just finished your first glass of wine. Let us dive into the mechanics of why these specific recipes work and how you can master the art of the electric pressure cooker.
The Gathers:
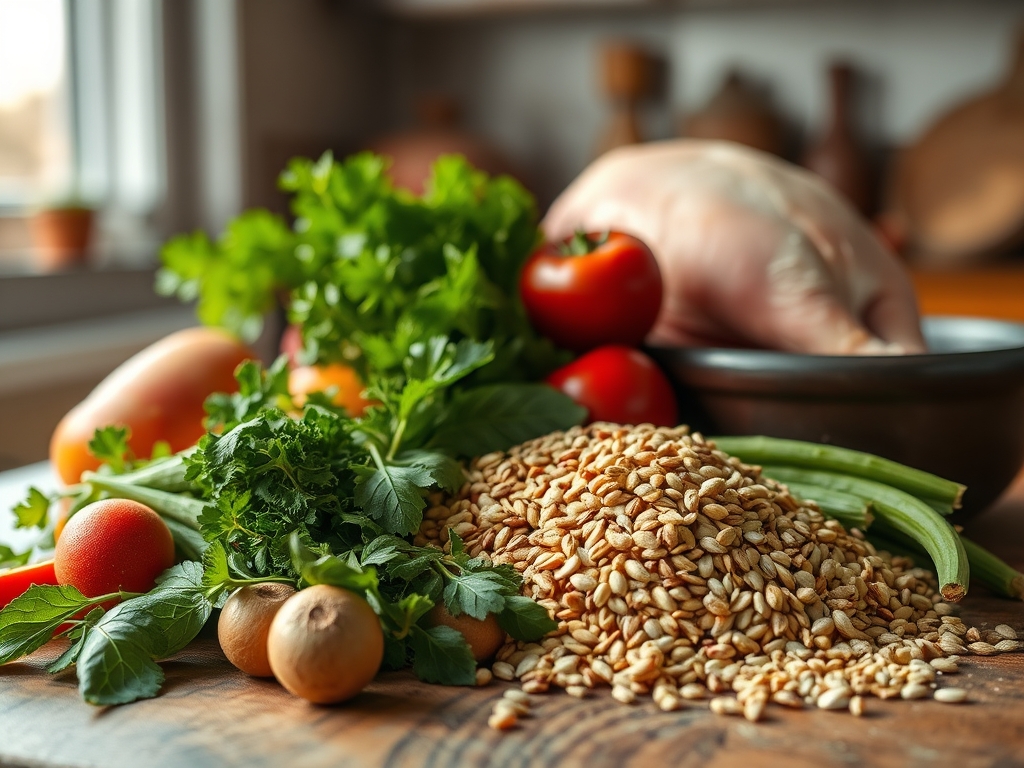
Setting your stage, or mise-en-place, is the difference between a chaotic kitchen and a culinary triumph. For these star instant pot chicken recipes, you must organize your ingredients by their molecular function. Start with your aromatics: yellow onions, smashed garlic cloves, and ginger. These contain sulfur compounds that, when heated, create the foundational savory notes of your dish. Next, gather your liquids. You need a high-quality bone broth or stock; the gelatin content is vital for creating a viscous mouthfeel in the final sauce.
Use a digital scale to measure your proteins precisely. If you are using chicken breasts, look for uniform thickness to ensure even cooking. For thighs, ensure the skin is removed if you are not planning to sear, as unrendered fat under pressure can become rubbery. Your pantry staples should include a high-smoke-point oil like avocado oil for the initial sauté phase and a bright acid like rice vinegar or fresh lemon juice to balance the heavy fats.
Smart Substitutions:
If you are out of fresh aromatics, a high-quality onion powder can provide the necessary sweetness, though you will miss the textural contrast. For a dairy-free creamy sauce, swap heavy cream for full-fat coconut milk; the medium-chain triglycerides provide a similar fat profile without the lactose. If you need a gluten-free thickener, reach for a cornstarch slurry or arrowroot powder instead of a flour-based roux.
The Clock
Efficiency in the kitchen is about the Chef's Flow. This is the art of overlapping tasks so that no second is wasted. For these recipes, the total time usually hovers around forty minutes, but the active labor is less than fifteen.
- The Prep (10 Minutes): While the Instant Pot is preheating on the "Sauté" setting, use a sharp chef's knife to dice your aromatics. This allows the stainless steel insert to reach the optimal temperature for the Maillard reaction.
- The Sear (5 Minutes): Browning the meat is non-negotiable. This creates complex flavor molecules that cannot be replicated by pressure alone.
- The Pressure Phase (10-15 Minutes): This is your hands-off time. The pot will take roughly eight minutes to come to pressure before the countdown begins.
- The Release (5-10 Minutes): A natural pressure release (NPR) is often superior for poultry to prevent the muscle fibers from seizing and toughening.
The Masterclass
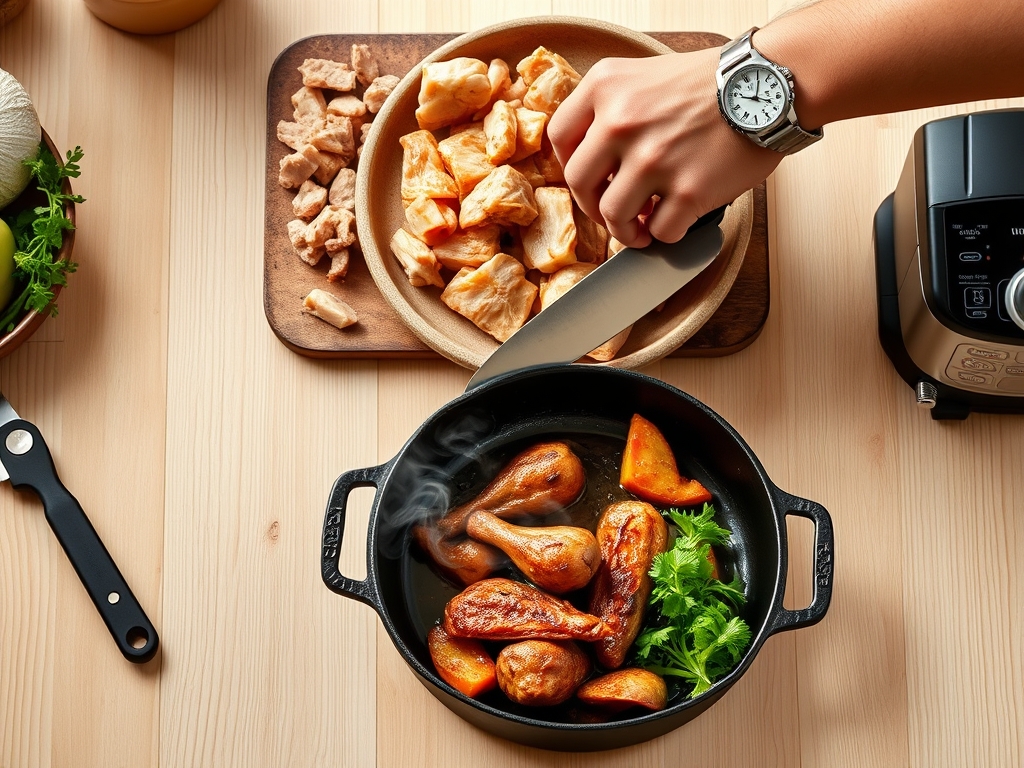
1. The Sear and Sauté
Begin by hitting the Sauté button and waiting for the "Hot" indicator. Add your oil and sear the chicken in batches using tongs to avoid overcrowding the pot. Overcrowding drops the temperature and causes the meat to steam rather than brown.
Pro Tip: This stage initiates the Maillard reaction, a chemical reaction between amino acids and reducing sugars that creates hundreds of different flavor compounds.
2. Deglazing the Foundation
Remove the chicken and pour in a splash of wine or broth. Use a wooden spoon or bench scraper to aggressively scrape the brown bits (the fond) off the bottom of the pot.
Pro Tip: Failing to deglaze properly can trigger the "Burn" notice. These caramelized bits are concentrated umami and are essential for a deep, complex sauce.
3. Layering the Aromatics
Add your onions, garlic, and spices. Sauté until the onions are translucent. This softens the cellulose in the vegetables and allows the fat-soluble compounds in your spices to infuse into the oil.
Pro Tip: Spices like cumin and paprika are fat-soluble; "blooming" them in the hot oil before adding liquid amplifies their aromatic impact.
4. The Pressure Build
Return the chicken to the pot, add your remaining liquids, and secure the lid. Ensure the venting knob is set to "Sealing." Set the manual high pressure based on the specific cut of meat.
Pro Tip: The Instant Pot works by raising the boiling point of water. At 15 psi, water boils at 250 degrees Fahrenheit, which accelerates the breakdown of tough connective tissues.
5. The Strategic Release
Once the timer beeps, allow for a natural release for at least five minutes before flipping the valve. This prevents the rapid boiling of internal juices, which can lead to dry meat.
Pro Tip: Thermal carryover continues to cook the chicken even after the heat source is off. A gradual pressure drop keeps the protein fibers relaxed.
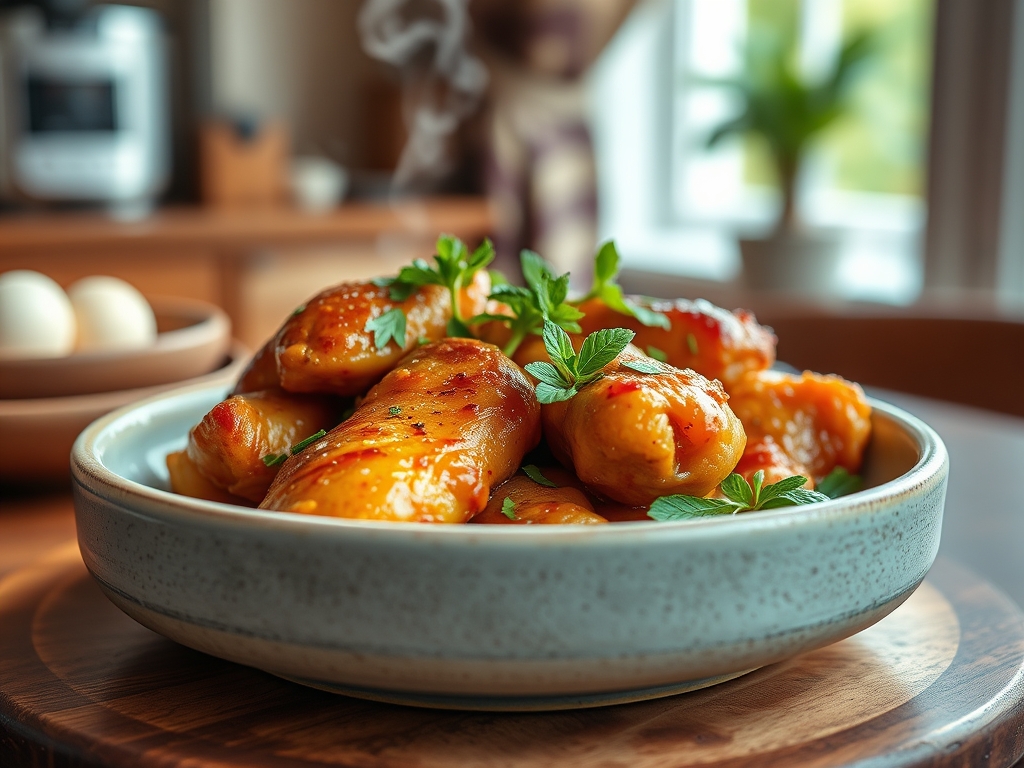
6. The Final Reduction
Remove the chicken and switch back to Sauté. Use a saucier or the pot itself to simmer the liquid until it thickens. If needed, whisk in a slurry or a pat of cold butter (monter au beurre) for a glossy finish.
Pro Tip: Reducing the sauce concentrates the solutes, increasing the viscosity and flavor density of the final glaze.
The Deep Dive
When we look at the macro profile of these star instant pot chicken recipes, we are seeing a high-protein, moderate-fat foundation. A standard 6-ounce serving of chicken thighs provides roughly 35 grams of protein and 15 grams of fat. To keep it Keto, focus on heavy cream and butter-based sauces. For a Vegan twist, the same techniques apply to jackfruit or soy curls, though the cook time will drop significantly to five minutes.
The Fix-It: Common Pitfalls
- The "Burn" Signal: This usually means there is not enough thin liquid or the bottom was not deglazed. Add a half-cup of water and scrape the bottom thoroughly.
- Tough Meat: This is often the result of a "Quick Release." The sudden drop in pressure causes the moisture to evaporate out of the cells. Always use a 5-10 minute NPR.
- Bland Sauce: If the dish tastes flat, it lacks acidity. Use a microplane to zest a lemon or add a teaspoon of apple cider vinegar to brighten the flavors.
Meal Prep Science:
When reheating, do not use the microwave on high power. This vibrates water molecules too fast, toughening the protein. Instead, use a low-power setting or reheat on the stovetop with an extra splash of broth to rehydrate the fibers.
The Wrap-Up
Mastering these star instant pot chicken recipes is about more than just following a list of steps; it is about understanding the physics of your kitchen. When you learn to control the variables of heat, pressure, and acidity, you stop being a cook and start being a culinary scientist. These dishes are designed to be your weeknight heroes, providing comfort and nutrition without the exhaustion of a three-hour stovetop vigil. So, grab your tongs, trust the science, and get ready to serve the best chicken your kitchen has ever seen.
The Kitchen Table
Can I cook frozen chicken in the Instant Pot?
Yes, you can cook frozen chicken safely. Increase the pressure cook time by 50 percent. Ensure the pieces are separated rather than one large frozen block to allow for even heat distribution and safe internal temperatures.
Why is my chicken breast always dry?
Dryness usually stems from overcooking or a quick pressure release. For breasts, use a shorter cook time (6-8 minutes) and always allow at least 5-8 minutes of natural pressure release to keep the internal juices from escaping.
How much liquid do I actually need?
Most Instant Pots require a minimum of one cup of thin liquid (water, broth, or juice) to create enough steam to reach pressure. Thicker sauces like BBQ or cream should be layered on top and not stirred in.
Do I have to sear the chicken first?
While not strictly necessary for safety, searing is vital for flavor. It creates the Maillard reaction, which adds depth and complexity that pressure cooking alone cannot achieve. It also improves the final visual appeal of the dish.