
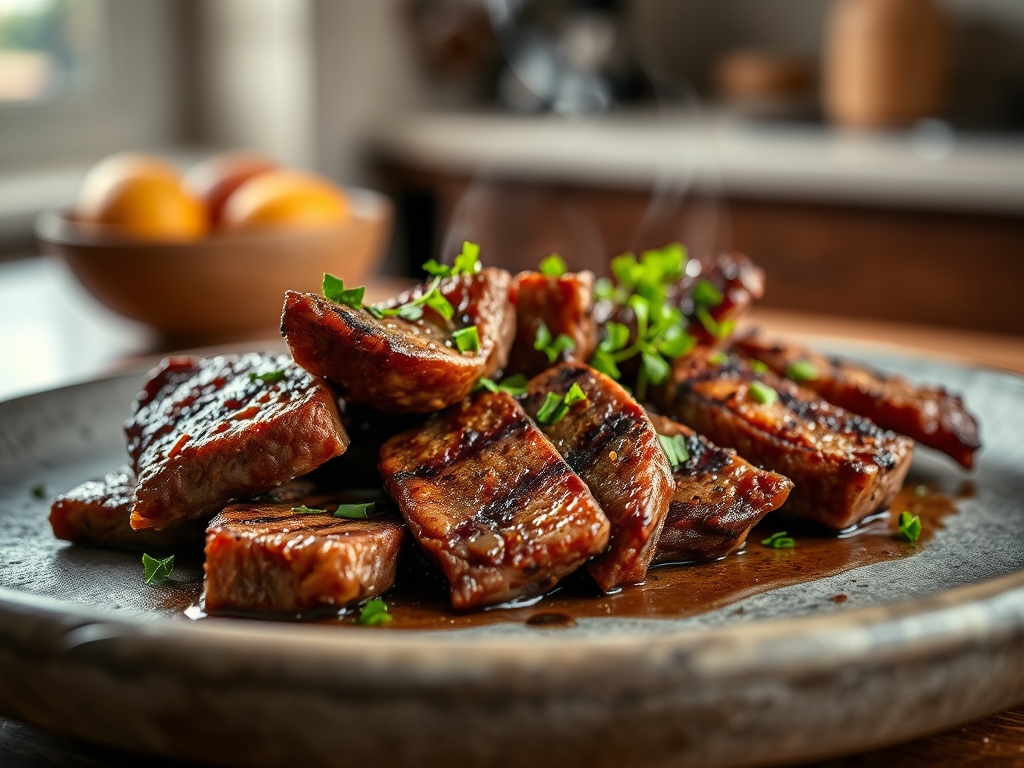
Picture this: a kitchen filled with the intoxicating scent of caramelized protein and toasted garlic while you sip a glass of Malbec. You want that deep, mahogany crust usually reserved for high-end steakhouses, but you do not want to scrub a grease-splattered stovetop. This is where your countertop convection oven becomes your best friend. Mastering beef recipes for air fryer use is not just about pressing a button; it is an exercise in thermodynamics. We are leveraging high-velocity hot air to mimic the effects of a commercial broiler. By the time we are done, you will be producing ribeyes and tri-tips with a crust so shattering it sounds like a secret. We are going to dive into the molecular magic of the Maillard reaction, ensuring every fiber of your steak is tender, juicy, and packed with umami. Whether you are a seasoned home cook or a total novice, these nine secrets will elevate your protein game from basic to breathtaking. Let us turn that fan on and get to work.
The Gathers:
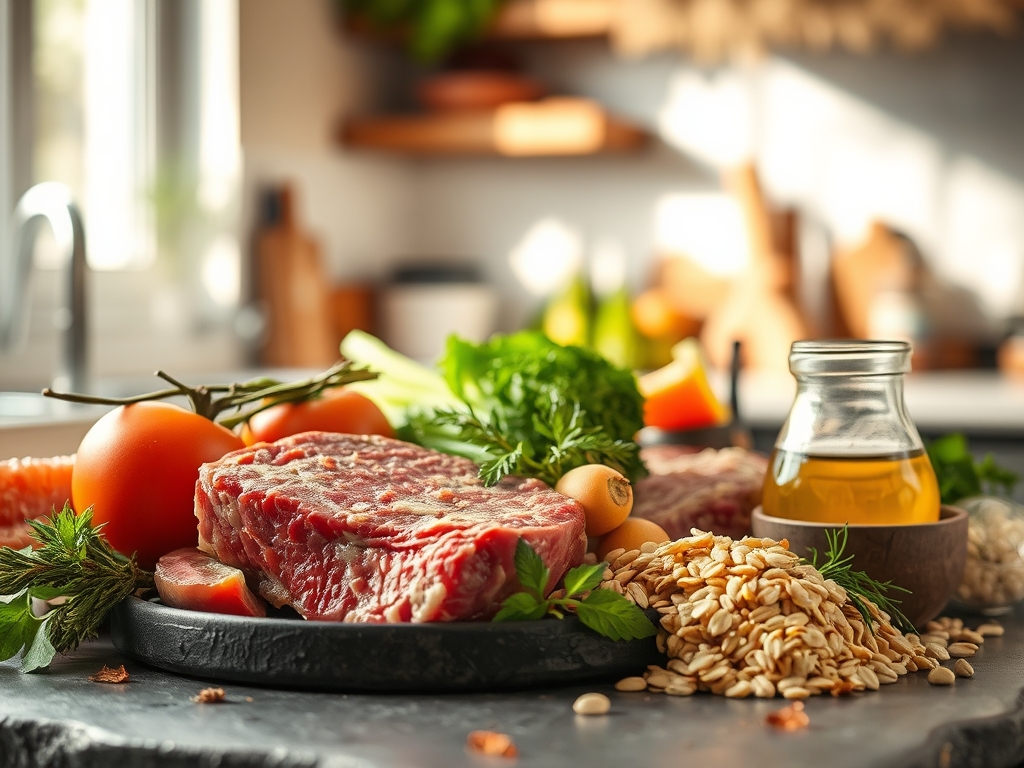
Before we touch the heat, we must respect the mise-en-place. Your station should look like a laboratory of flavor. Start with your primary protein: a thick-cut choice or prime steak, preferably with a high degree of intramuscular fat. Use a digital scale to ensure your portions are uniform; consistency is the soul of precision cooking. You will need a high-smoke-point oil, such as avocado or grapeseed, to facilitate heat transfer without acrid smoke. For the aromatics, gather fresh rosemary, thyme, and a head of garlic to be smashed with a bench scraper.
The seasoning requires a coarse kosher salt to properly denature the surface proteins. For the piquant kick, use a microplane to zest fresh horseradish or grate frozen ginger into your marinade. If you are looking for smart substitutions, swap soy sauce for liquid aminos to keep it gluten-free, or use a dash of fish sauce to add a viscous depth of umami that salt alone cannot provide. Always have your tongs and a reliable meat thermometer at the ready.
The Clock
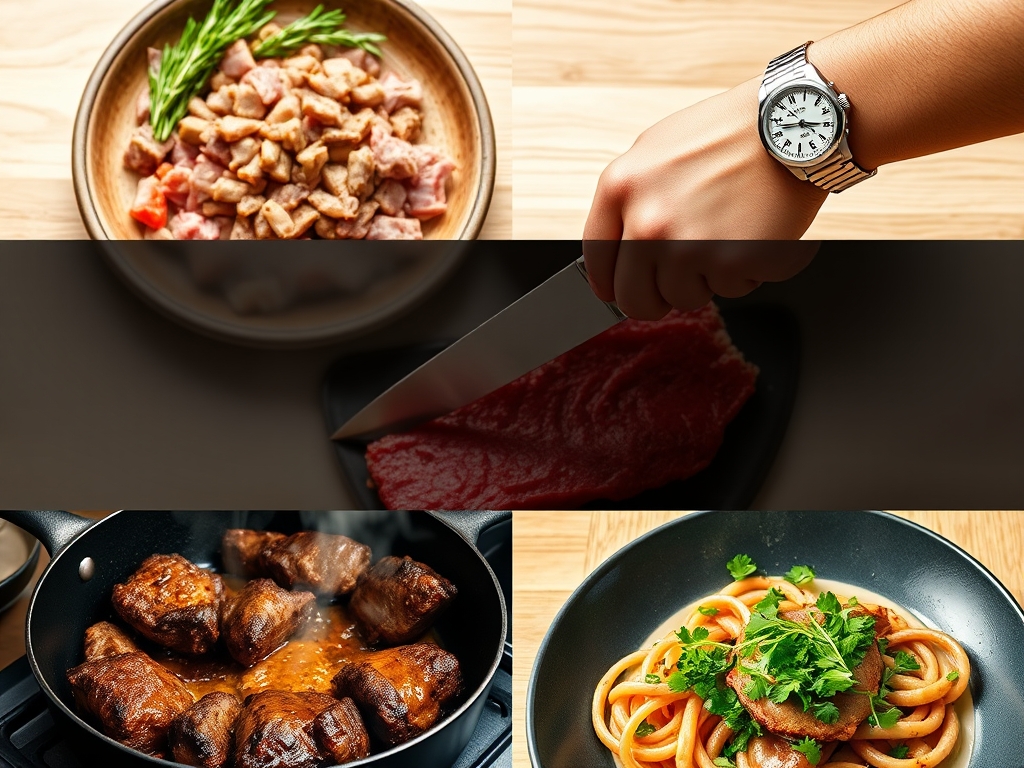
The "Chef's Flow" is all about timing and temperature. Your preparation takes exactly 20 minutes: 5 minutes for the actual seasoning and 15 minutes for the meat to come to room temperature. This "tempering" phase is non-negotiable for an even cook. The actual air frying time varies between 8 and 14 minutes depending on your desired level of doneness. Finally, the most critical phase is the 10-minute rest. Total time from fridge to fork is approximately 45 minutes. This rhythm allows the heat to penetrate the center without overcooking the exterior.
The Masterclass
1. The Surface Dry Down
Use paper towels to aggressively pat the beef until the surface is bone-dry. Moisture is the enemy of the Maillard reaction because energy is wasted evaporating water instead of browning the meat.
Pro Tip: This is known as hygroscopic management. A dry surface allows the temperature to spike rapidly, triggering the chemical reaction between amino acids and reducing sugars.
2. The Oil Buffer
Apply a thin, even coat of oil using your hands or a pastry brush. You want the meat to look glossy but not dripping. This acts as a thermal bridge between the air and the flesh.
Pro Tip: Oil increases the surface area contact with the hot air, preventing the "gray meat" look and ensuring a viscous, rich mouthfeel.
3. The Pre-Heat Ritual
Never put cold meat into a cold basket. Pre-heat your air fryer for at least five minutes at its highest setting. This creates an initial "sear" the moment the beef hits the tray.
Pro Tip: Starting with a hot chamber maximizes thermal shock, which quickly tightens the exterior fibers to trap internal juices.
4. The Spacing Standard
Do not overcrowd the basket. Leave at least an inch of space between pieces to allow the hot air to aerate and circulate 360 degrees around the protein.
Pro Tip: Overcrowding causes "steaming" rather than frying. Airflow is the only thing that creates that signature crispiness in beef recipes for air fryer.
5. The Mid-Way Flip
Halfway through the cooking cycle, use your tongs to flip the beef. This ensures the bottom side, which receives less direct airflow, gets equal exposure to the heating element.
Pro Tip: Flipping compensates for the "shadow effect" of the air fryer basket, ensuring a uniform render of the fat caps.
6. The Aromatic Infusion
In the last two minutes of cooking, toss in your smashed garlic and herb sprigs. The high-velocity air will blow the volatile oils from the herbs directly onto the meat.
Pro Tip: This is a form of convection infusion. The heat breaks down the plant cells, releasing essential oils that bond with the surface fats of the beef.
7. The Carryover Calculation
Pull your beef when it is 5 degrees Fahrenheit below your target temperature. If you want a medium-rare 135F, pull it at 130F.
Pro Tip: This is thermal carryover. The internal energy continues to move toward the center even after the heat source is removed.
8. The Rest Period
Transfer the meat to a warm plate and tent loosely with foil. Wait ten minutes before slicing. This allows the muscle fibers to relax and reabsorb the juices.
Pro Tip: Resting prevents myoglobin loss. If you cut too soon, the pressure from the tightened fibers will push all the flavor onto the cutting board.
9. The Acid Finish
Just before serving, hit the beef with a squeeze of lemon or a drizzle of high-quality balsamic vinegar. Use a saucier to drizzle any accumulated resting juices back over the top.
Pro Tip: Acid cuts through the heavy lipids, brightening the flavor profile and balancing the richness of the rendered fat.
The Deep Dive
From a macro nutrition perspective, beef is a powerhouse of bioavailable protein, B12, and zinc. A standard 6-ounce serving provides roughly 42 grams of protein. For dietary swaps, Keto followers should lean into ribeyes for higher fat content, while those seeking a leaner profile should opt for top sirloin. Vegan "beef" alternatives made of soy or pea protein can also be used in the air fryer, though they require a shorter cook time and more oil to prevent drying out.
The "Fix-It" Guide:
- Tough Meat: You likely skipped the rest period or bought a cut with too much connective tissue. Fix: Slice against the grain very thinly.
- No Crust: The meat was too wet or the basket was overcrowded. Fix: Return to the fryer for 2 minutes at max heat after a quick pat-dry.
- Uneven Cooking: The steak was too cold when it went in. Fix: Use a meat hammer to even out the thickness before cooking next time.
For meal prep, reheating is a science. Avoid the microwave, which turns beef into rubber. Instead, use the air fryer at 300F for 3 to 4 minutes. This gently re-activates the fats without overcooking the center, maintaining that "day-one" quality.
The Wrap-Up
You are now officially armed with the technical prowess to dominate any beef recipes for air fryer challenge. By understanding the physics of airflow and the chemistry of the Maillard reaction, you have moved beyond "just cooking" into the realm of culinary artistry. Remember to keep your tools sharp, your basket empty enough for the air to dance, and your patience high during the rest. Your kitchen is your sanctuary; go make something legendary.
The Kitchen Table
Can I cook frozen beef in the air fryer?
Yes, but you must lower the temperature by 25 degrees and extend the time. This prevents the outside from burning while the center remains a block of ice. Always use a probe thermometer to check the core.
What is the best cut for the air fryer?
Ribeye or New York Strip are the gold standards. Their high fat content allows for a beautiful render and prevents the meat from drying out under the high-intensity convection fan.
Why is my air fryer smoking?
This usually happens when fat drips onto the heating element or you used an oil with a low smoke point like butter. Place a slice of bread in the bottom tray to soak up excess grease.
Do I need to marinate the beef first?
While not strictly necessary, a marinade with an acidic component helps tenderize the fibers. Just ensure you wipe the meat completely dry before air frying to ensure you still get a proper crust.