
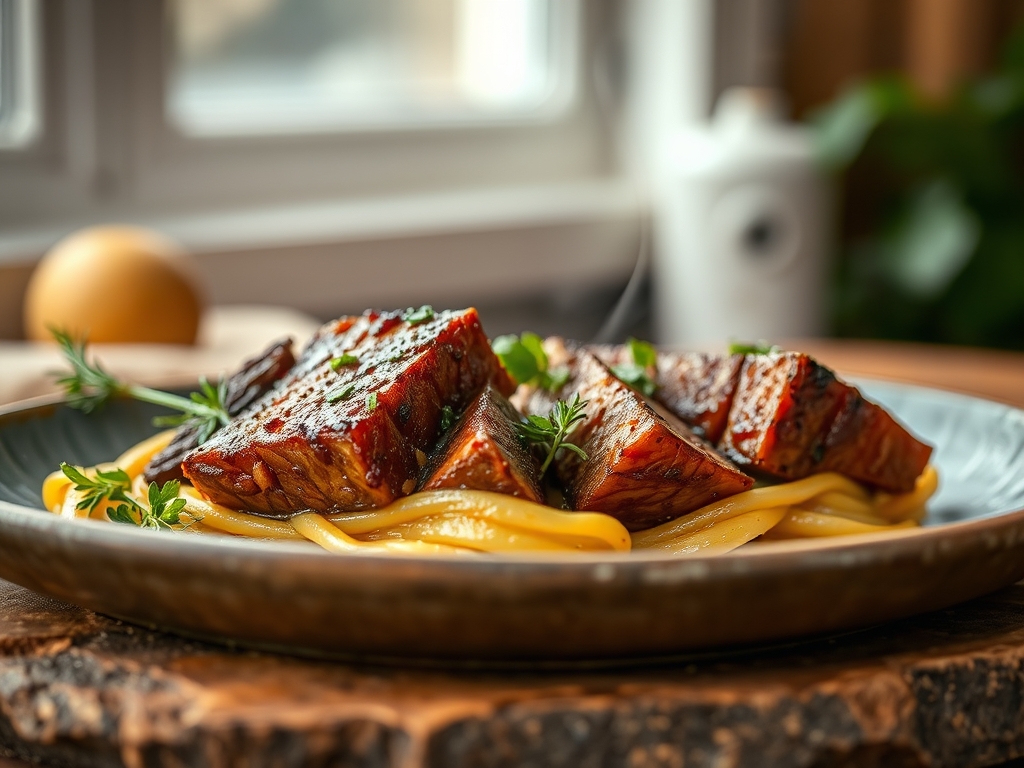
Imagine cracking open a tin to find beef so tender it practically sighs when it hits the pan. We are moving far beyond the realm of basic pantry staples today. When you dive into high-quality keystone beef recipes, you are working with a canvas of fully cooked, shelf-stable protein that has already undergone the long, slow process of thermal processing. This means the collagen has already transitioned into silky gelatin. Your job is not to cook it, but to transform it. We are going to harness the power of Maillard reactions and emulsified pan sauces to elevate this beef into a five-star experience. Whether you are whipping up a midnight stroganoff or a robust ragu, the secret lies in how you treat the "liquor" inside the can and how you reintroduce texture to the protein fibers. It is fast, it is efficient, and if you follow my lead, it is going to be the most sophisticated meal to ever come out of your pantry.
The Gathers:
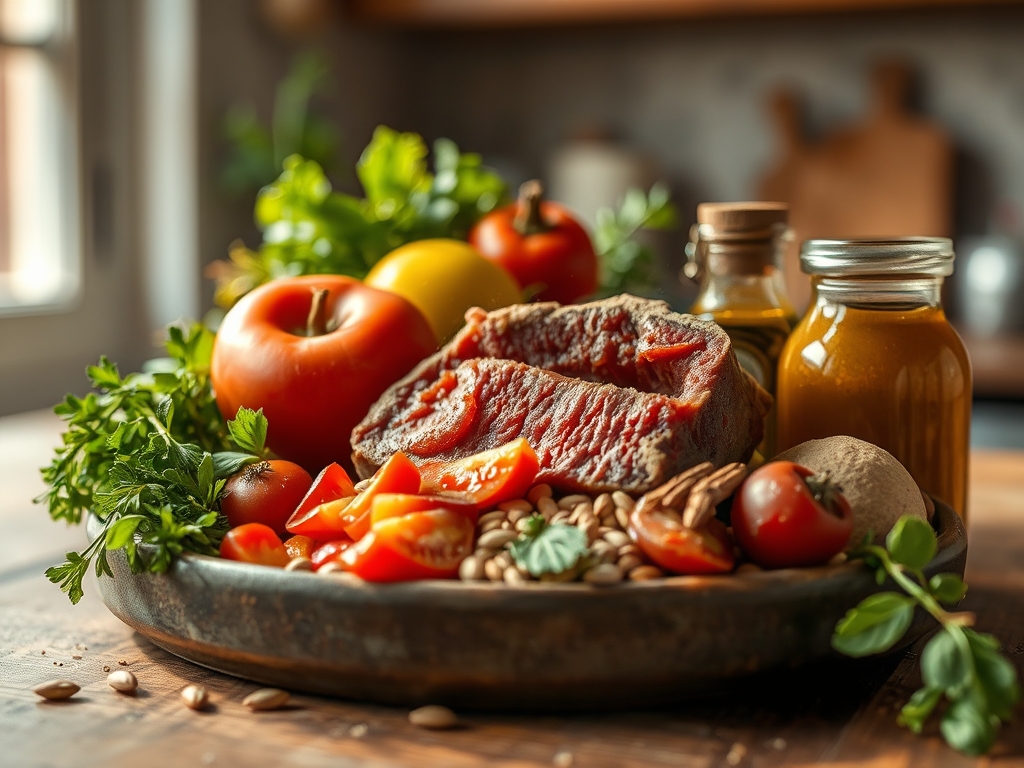
To master these keystone beef recipes, your mise-en-place must be precise. Start with two 14.5-ounce cans of Keystone beef. You will notice the fat has solidified at the top; do not discard this. That tallow is liquid gold for sautéing your aromatics. Gather three cloves of garlic, one large shallot, and a bundle of fresh thyme. For the sauce base, you need a high-quality balsamic vinegar for acidity and a splash of heavy cream or a knob of cold, unsalted butter to create a viscous finish.
Smart Substitutions: If you lack shallots, use the white parts of green onions for a sharper, piquant bite. If you are avoiding dairy, a spoonful of tahini or full-fat coconut milk provides the necessary lipids to emulsify your sauce without masking the beef's natural profile. Always have a microplane ready for grating fresh horseradish or lemon zest at the finish; these tiny particles provide a massive aromatic lift that cuts through the richness of the preserved meat.
The Clock
Efficiency is the soul of this process. We operate on a fifteen-minute "Chef's Flow." The first five minutes are dedicated to the prep, where you mince your aromatics and drain the beef, reserving the juices in a small saucier. The next seven minutes are the active sear, where we focus on surface dehydration to achieve a crust. The final three minutes are the emulsion phase, where we marry the liquids and solids. Because the beef is pre-cooked, overextending the clock will result in "mushy" fibers. We are aiming for a rapid, high-heat intervention that respects the integrity of the meat.

The Masterclass:
1. The Separation Anxiety
Carefully open your cans and use a bench scraper or a wide fork to lift the beef chunks out of the liquid. Place the beef on a tray lined with paper towels. Pat them dry until the surface is matte. Removing surface moisture is the only way to ensure the meat browns rather than steams.
Pro Tip: This is the science of surface tension. Water is the enemy of the Maillard reaction. By drying the exterior, you allow the surface temperature to spike above 300 degrees Fahrenheit instantly, triggering the browning that creates complex, savory flavors.
2. The Tallow Render
Place a heavy-bottomed skillet over medium-high heat. Add the fat collected from the top of the can along with a teaspoon of neutral oil. Once the fat begins to shimmer and reach its smoke point, drop your beef chunks in a single layer. Do not crowd the pan.
Pro Tip: Utilizing the rendered beef tallow increases the lipid-soluble aromatics. The fats already present in the beef carry the most flavor; using them as the cooking medium reinforces the "beefy" profile through molecular synergy.
3. The Hard Sear
Let the beef sit undisturbed for three minutes. Resist the urge to shake the pan. Use tongs to flip each piece once a deep mahogany crust has formed. We are looking for textural contrast; a crispy exterior protecting a tender, juicy interior.
Pro Tip: This stage involves thermal carryover. Since the interior is already cooked, we only want to heat it through. High heat for a short duration prevents the internal proteins from tightening and becoming "stringy."
4. The Aromatic Infusion
Push the beef to the perimeter of the skillet. Drop in your minced shallots and garlic. Use a wooden spoon to stir them in the center until they become translucent and fragrant. This takes about sixty seconds.
Pro Tip: Garlic contains allicin, which is released when the cells are ruptured. Cooking it briefly in fat allows these sulfur compounds to mellow and sweeten, preventing the bitter "bite" of raw garlic from overpowering the dish.
5. The Deglaze
Pour a splash of red wine or the reserved beef liquor into the hot skillet. Use your spoon to scrape up every brown bit stuck to the bottom of the pan. These bits, known as fond, are concentrated explosions of flavor.
Pro Tip: Deglazing is a chemical process where the liquid acts as a solvent. It dissolves the caramelized proteins and sugars, incorporating them into a cohesive sauce that coats every fiber of the meat.
6. The Mounting
Turn the heat to low. Add a cold knob of butter or a splash of heavy cream. Stir constantly in a circular motion until the sauce becomes glossy and thick enough to coat the back of a spoon.
Pro Tip: This is monitored emulsification. By adding cold fat to a warm liquid and stirring rapidly, you suspend tiny fat droplets in the water-based sauce. This creates a luxurious mouthfeel that feels much heavier than it actually is.
7. The Acid Hit
Just before serving, use your microplane to zest half a lemon over the pan or add a teaspoon of apple cider vinegar. Toss the beef one last time to distribute the brightness.
Pro Tip: Acidity acts as a palate cleanser. It breaks through the heavy lipids and salt, signaling to your taste buds that the meal is balanced. Without acid, savory beef dishes can taste "flat" or one-dimensional.
8. The Aeration
Transfer the beef to a warm platter. Do not stack the pieces too high; give them room to breathe. This prevents the steam from softening the crust you worked so hard to build.
Pro Tip: To aerate a dish means to let air circulate. If you trap the beef under a lid or in a deep bowl immediately, the residual steam will undergo condensation, turning your crispy sear back into a soft, boiled texture.
9. The Final Season
Sprinkle a pinch of flaky sea salt from a height of about twelve inches. This ensures even distribution and provides a final "crunch" that highlights the savory notes of the keystone beef recipes.
Pro Tip: Flaky salt has a larger surface area but less density than table salt. It provides a localized burst of salinity that enhances the umami receptors on your tongue without over-salting the entire base of the dish.
The Deep Dive
From a nutritional standpoint, this beef is a powerhouse. It is high in bioavailable protein and essential minerals like zinc and B12. Because it is preserved in its own juices, it retains more micronutrients than beef that has been boiled and drained in a traditional kitchen setting.
Dietary Swaps:
- Keto: Serve over riced cauliflower with extra butter for a high-fat, zero-carb meal.
- Paleo: Use ghee instead of butter and coconut aminos instead of wine for the deglaze.
- Gluten-Free: This recipe is naturally gluten-free; just ensure your spices are certified.
The Fix-It:
- Too Salty? Add a peeled potato to the sauce for two minutes to absorb excess sodium, then discard the potato.
- Too Dry? Whisk a teaspoon of cornstarch into cold beef broth and stir it into the simmering sauce to add "body" and moisture.
- Greasy Finish? A teaspoon of Dijon mustard acts as a secondary emulsifier to bind the fat and liquid together.
Meal Prep: When reheating, do not use the microwave. It vibrates water molecules too fast and toughens the beef. Instead, place the beef in a small skillet with a tablespoon of water, cover with a lid, and steam on low heat for three minutes. This restores the gelatinous texture of the juices without overcooking the meat.
The Wrap-Up
Mastering keystone beef recipes is about more than just convenience; it is about reclaiming the art of the pantry. By applying professional techniques like deglazing and emulsification to high-quality preserved proteins, you bridge the gap between "fast food" and "fine dining." This approach respects your time while honoring your palate. Go ahead and experiment with different aromatics or acids. The foundation is solid, and the results are consistently spectacular. Your kitchen is now a laboratory of flavor.
The Kitchen Table
Can I use the liquid in the can?
Yes, that liquid is a concentrated beef stock. It is rich in gelatin and minerals. Always reserve it to use as the base for your pan sauce or to deglaze the skillet for maximum flavor extraction.
How do I get the beef crispy?
The secret is surface dehydration. Pat the beef chunks completely dry with paper towels before they hit the pan. Use high heat and do not move the meat for at least three minutes to allow the Maillard reaction to occur.
Is Keystone beef healthy?
It is a minimally processed protein source. It contains no artificial preservatives and is typically just beef and salt. It provides high-quality protein and essential fats, making it a great option for clean eating and various dietary lifestyles.
What tools do I need?
A heavy-bottomed skillet is essential for heat retention. You will also want a pair of tongs for precise flipping and a saucier or small pot if you plan on reducing the beef liquor separately for a thicker glaze.