
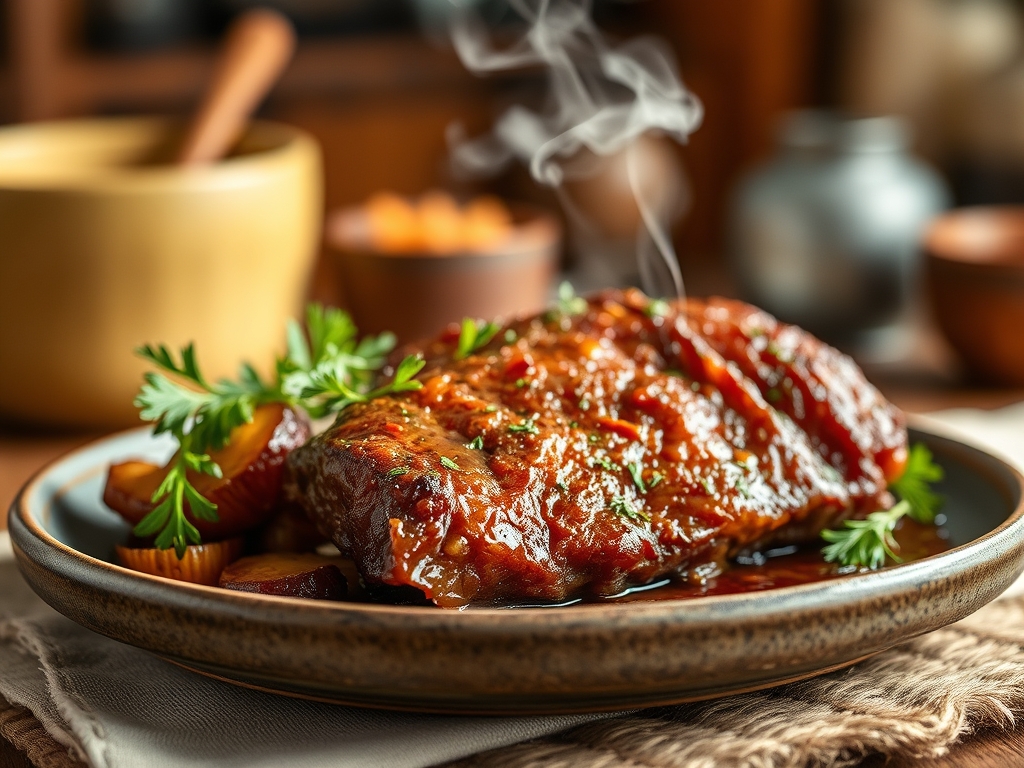
Imagine the scent of rendered fat hitting hot metal; it is a heavy, savory perfume that anchors a home. When you master easy roast beef recipes for oven cooking, you are not just making dinner; you are performing a controlled thermal transformation. We are chasing that perfect, edge-to-edge pink interior wrapped in a salty, dark mahogany crust.
The secret to a show-stopping roast is not a complicated spice cabinet. It is the marriage of moisture control and heat management. Most home cooks treat the oven like a black box, but we are going to treat it like a precision tool. We want the kind of beef that yields to a dull knife but still possesses enough structural integrity to hold its juices. By the time we are done, you will understand exactly why your previous roasts might have been gray or tough. We are moving past guesswork and into the realm of culinary physics. Grab your apron and a glass of something piquant; it is time to turn your kitchen into a high-end steakhouse.
The Gathers:
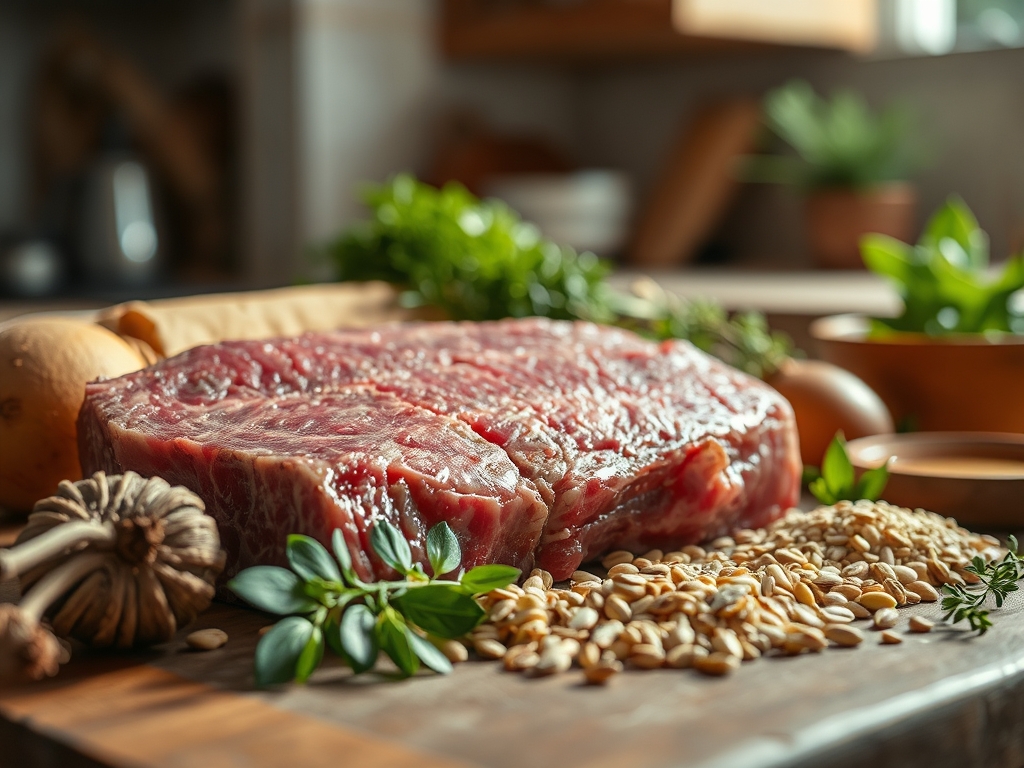
Your mise-en-place is the foundation of success. Start with a three to four pound Top Round, Eye of Round, or Bottom Round. These lean muscular cuts are ideal for roasting because they have a tight grain that slices beautifully. You will also need high-quality kosher salt; its jagged crystal structure is superior for drawing out surface moisture. For the aromatics, gather fresh rosemary and thyme. We want the oils to infuse the fat as it melts.
The supporting cast includes garlic cloves, cracked black pepper, and a high-smoke-point oil like avocado or grapeseed. Do not use extra virgin olive oil for the initial sear; it will smoke and turn bitter. For the "Smart Substitutions," if you are out of fresh herbs, a concentrated mushroom powder or umami paste can provide that same earthy depth. If you do not have a roasting rack, a bed of thick-cut onions and carrots works as a natural trivet, elevating the meat so hot air can circulate underneath.
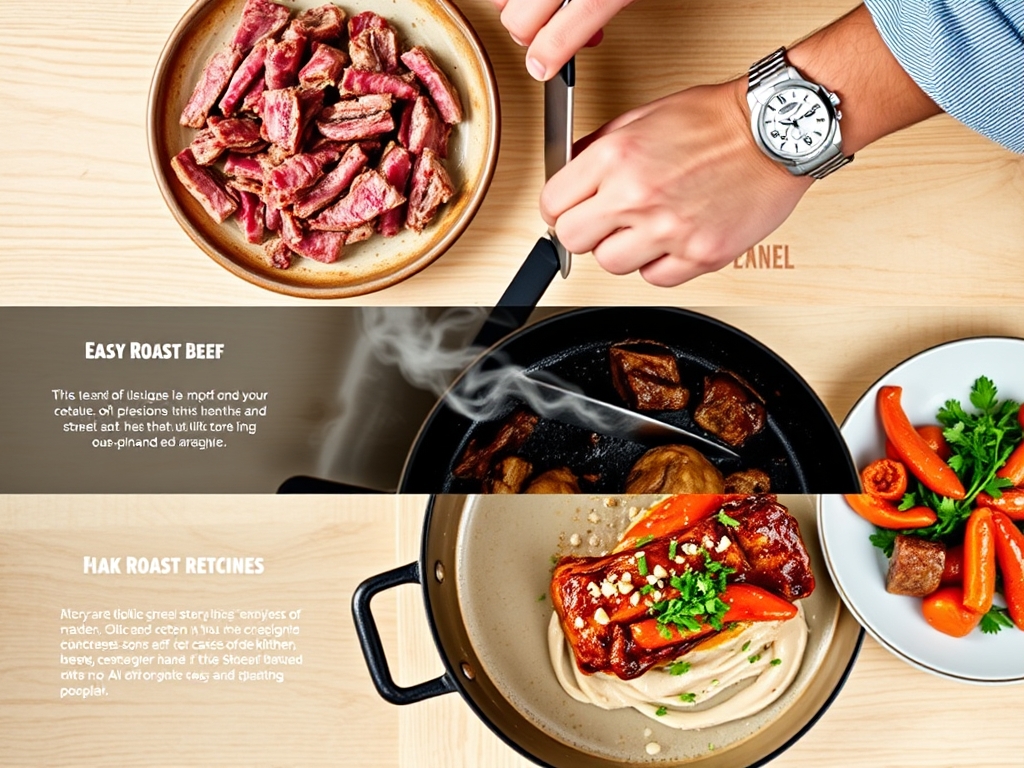
The Clock
Efficiency in the kitchen is about "Chef's Flow." This is the sequence of events that ensures nothing is rushed. Your total active time is only about 15 minutes, but the passive time is where the magic happens.
- Temper (60 Minutes): Never put cold meat in a hot oven. Let the beef sit at room temperature to ensure even heat penetration.
- Prep & Sear (15 Minutes): This is your active window where you build the crust.
- The Roast (60 to 90 Minutes): This varies based on the weight and your desired doneness.
- The Rest (20 to 30 Minutes): This is non-negotiable for juice retention.
The Masterclass
1. The Dry Brine and Temper
Pat the beef bone-dry with paper towels. Use a digital scale to measure your salt if you want to be precise; 1.5% of the meat's weight is the golden ratio. Rub the salt and pepper over every inch of the surface. Let it sit on a wire rack for at least an hour.
Pro Tip: This process utilizes osmosis. Salt initially draws moisture out, but given time, that salty brine is reabsorbed into the muscle fibers, seasoning the meat deeply and breaking down tough proteins.
2. The High-Heat Sear
Heat a heavy-bottomed skillet (cast iron is king here) until it is shimmering. Use tongs to press the beef into the pan, searing each side for 2 to 3 minutes until a dark crust forms.
Pro Tip: This is the Maillard Reaction. It is a chemical reaction between amino acids and reducing sugars that creates hundreds of different flavor compounds. Without this step, your roast will lack that "beefy" complexity.
3. The Aromatic Infusion
Before moving the roast to the oven, create a paste using a microplane to grate garlic into softened butter or oil, mixed with chopped herbs. Slather this over the seared meat. The fat will render during the roast, basting the meat in flavor.
Pro Tip: Fat is a flavor carrier. By suspending the aromatics in a lipid (butter or oil), you ensure the volatile flavor compounds stay trapped against the meat rather than evaporating into the air.
4. The Low and Slow Roast
Place the beef on a rack in a roasting pan. Set your oven to 325 degrees Fahrenheit. We want a gentle heat to prevent the outer layers from overcooking before the center reaches the target temperature.
Pro Tip: Using a low temperature minimizes the thermal gradient. This ensures that the difference in temperature between the outside and the center is small, resulting in a more uniform pink color throughout.
5. The Internal Precision
Do not cook by time; cook by temperature. Use a probe thermometer to monitor the internal heat. For medium-rare, pull the roast out when it hits 125 degrees Fahrenheit.
Pro Tip: Understand thermal carryover. The internal temperature will continue to rise by 5 to 10 degrees after you remove it from the oven as the residual heat from the surface moves toward the cooler center.
6. The Essential Rest
Move the roast to a wooden cutting board and tent it loosely with foil. Let it rest for at least 20 minutes before using a bench scraper to clear your workspace and a sharp carving knife to slice.
Pro Tip: During cooking, muscle fibers contract and squeeze out juice. Resting allows those fibers to relax and reabsorb the liquid. If you cut too soon, the juice will end up on the board instead of in your mouth.
The Deep Dive
From a macro perspective, roast beef is a protein powerhouse, typically offering about 25 grams of protein per 3-ounce serving with moderate fat content. For a Keto version, serve with a buttery tallow-based sauce. For a Vegan alternative, this same roasting technique (minus the meat) works wonders on a whole cauliflower head or "lions mane" mushrooms. If you are Gluten-Free, simply ensure your seasonings are pure and skip any flour-based gravies, opting for a reduction in a saucier instead.
The Fix-It:
- Tough Meat: You likely skipped the resting phase or sliced with the grain. Always slice against the grain to shorten the muscle fibers.
- Gray Interior: Your oven was too hot. Lower the temp next time and use a thermometer.
- No Crust: The meat was wet when it hit the pan. Water creates steam, and steam prevents browning. Use more paper towels!
Meal Prep: To reheat without losing quality, slice the beef cold and lay it in a shallow dish with a splash of beef broth. Cover tightly with foil and warm at 300 degrees just until the fat begins to glisten. This prevents the "overcooked" flavor that microwaves often produce.
The Wrap-Up
Mastering easy roast beef recipes for oven success is a gateway to culinary confidence. Once you understand the science of the sear and the patience of the rest, you can tackle any cut of meat with ease. This is "slow food" that fits into a fast life; it requires minimal hands-on work but delivers a maximum sensory reward. Go forth, trust your thermometer, and enjoy the most tender roast of your life!
The Kitchen Table
What is the best cut for oven roast beef?
For lean, sliceable results, choose Top Round or Eye of Round. For a richer, more marbled experience, a Prime Rib or Tri-Tip is excellent, though they require different fat-management techniques during the roasting process.
How do I get a better crust on my roast?
Ensure the surface is bone-dry before searing. Use a heavy cast-iron skillet and high-smoke-point oil. Do not crowd the pan; if the meat is too large, sear it in sections to maintain high surface heat.
Why is my roast beef always dry?
Dryness usually stems from overcooking or failing to rest the meat. Pull the beef at 125°F for medium-rare and let it rest for 20 minutes to allow the internal juices to redistribute into the muscle fibers.
Can I cook a roast beef from frozen?
It is not recommended. The exterior will overcook and become tough before the center even thaws. For the best texture and safety, always thaw your beef completely in the refrigerator before beginning the tempering process.