
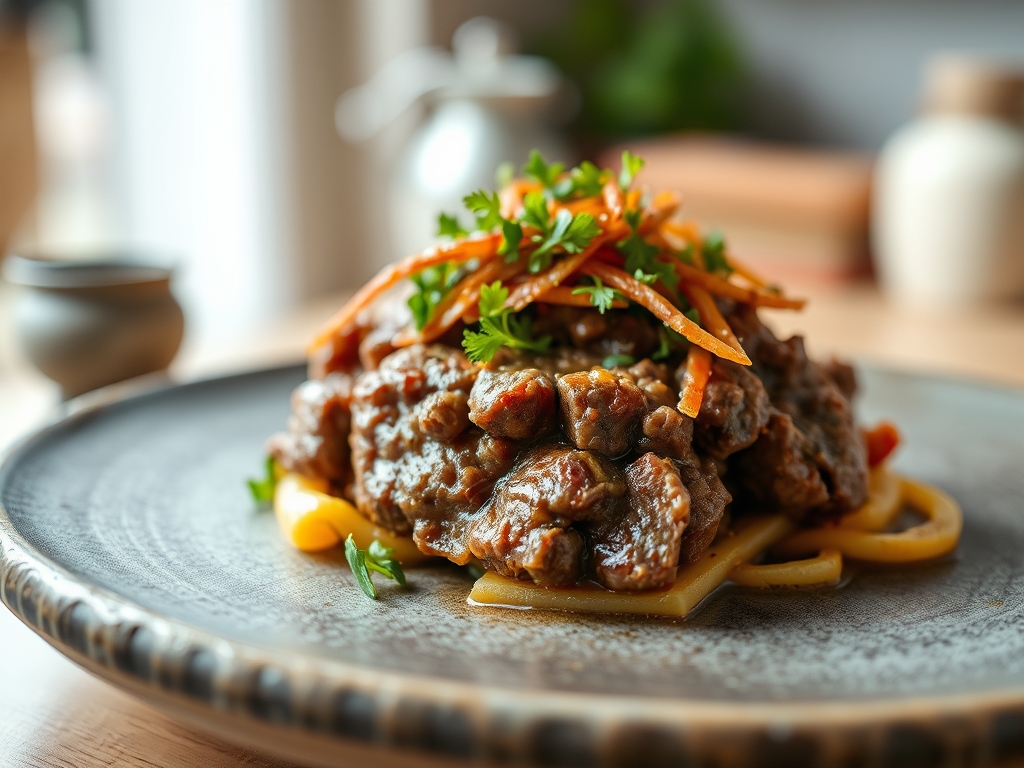
Imagine a heavy-bottomed skillet sizzling on the stove while the aroma of caramelized onions and rich, beefy gravy fills your kitchen. It is the ultimate comfort food. When you master salisbury ground beef recipes, you are not just making a hamburger with gravy; you are engineering a masterpiece of texture and deep umami flavor. This is science disguised as a cozy hug.
The secret to a perfect Salisbury steak lies in the structural integrity of the patty and the velvet-like consistency of the sauce. We are looking for a tender, almost melt-in-your-mouth bite that holds its shape against a flood of piquant mushroom gravy. Forget the cafeteria versions of your childhood. We are using professional techniques to elevate this humble ground beef into a five-star dining experience. Grab your apron and your favorite wooden spoon; we are about to dive into the chemistry of the perfect sear.
The Gathers:
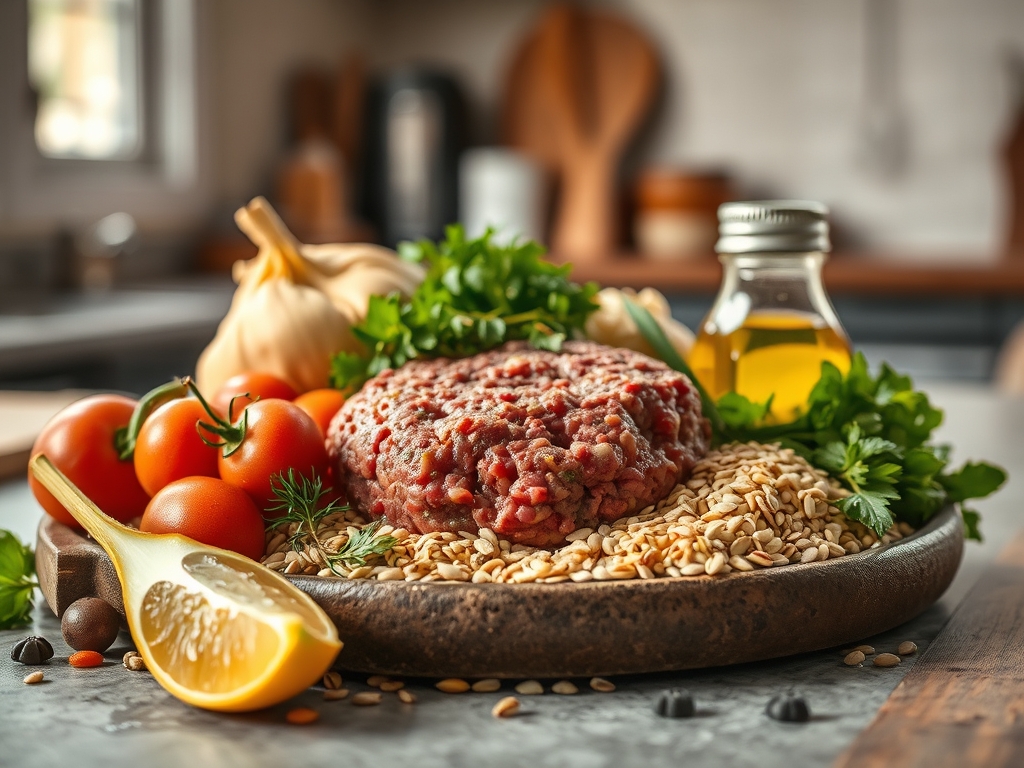
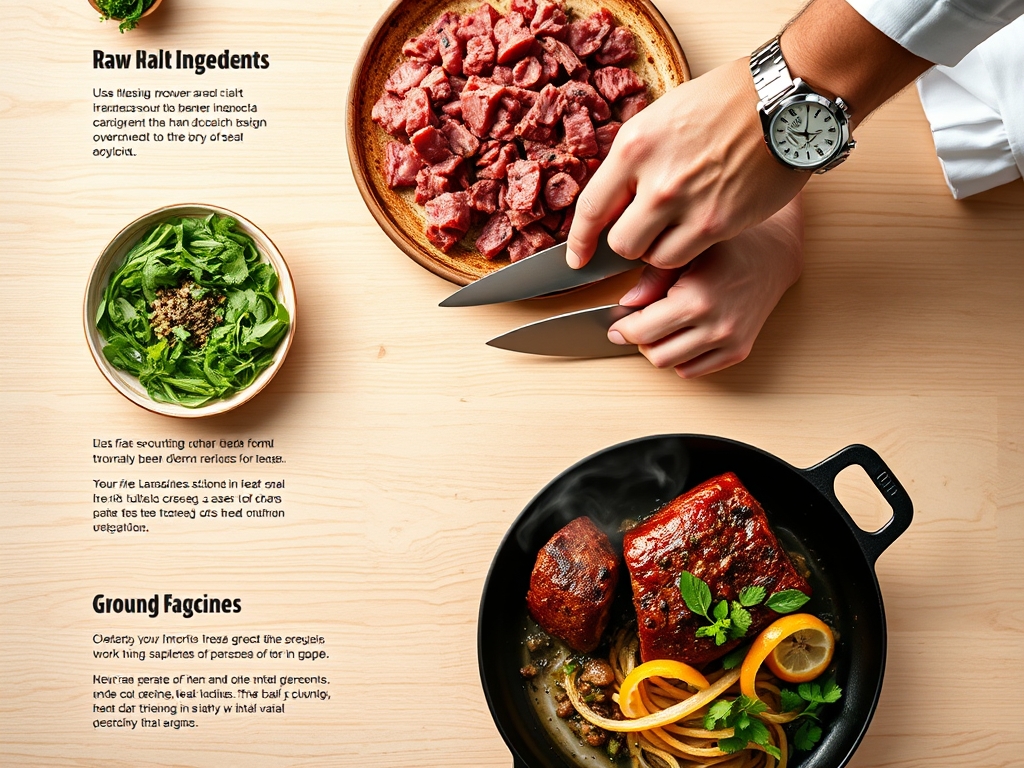
To begin, your mise-en-place must be precise. Start with high-quality ground beef. I recommend an 80/20 blend. This ratio ensures enough fat to render during the cooking process, which keeps the meat moist while providing the base for our roux. You will need fine breadcrumbs to act as a panade, which prevents the muscle fibers from tightening into a hockey puck.
For the aromatic base, gather yellow onions and cremini mushrooms. Cremini mushrooms contain more L-glutamate than white buttons, which significantly boosts the savory profile of your gravy. You will also need beef bone broth, Worcestershire sauce, and a touch of Dijon mustard for that essential acidic backbone. Use a microplane to grate your garlic into a paste; this ensures even distribution without the risk of biting into a raw chunk.
Smart Substitutions: If you are out of breadcrumbs, crushed saltine crackers provide a nostalgic, salty crunch. For the mushrooms, if you want an even deeper earthiness, swap half of the cremini for dried porcini mushrooms that have been reconstituted in warm water. Use that soaking liquid to replace part of your beef broth for an incredible flavor boost.
The Clock
Efficiency in the kitchen is all about the Chef's Flow. Expect about 15 minutes of active prep time and 25 minutes of cooking. Your total "tock" is roughly 40 minutes.
The flow begins with the onions. Since they take the longest to caramelize, get them in the pan first. While they soften, you mix your patties. By the time the patties are seared, the pan is primed for the gravy. This overlapping sequence ensures that no component sits getting cold or soggy. Use a digital scale to portion your patties to exactly five ounces each; this ensures they all finish cooking at the exact same moment, preventing the tragedy of one dry patty and one undercooked one.
The Masterclass
1. Hydrate the Panade
Before the meat even enters the bowl, mix your breadcrumbs with a splash of milk or broth. Let this sit for five minutes until it forms a paste.
Pro Tip: This is the science of moisture retention. The starches in the breadcrumbs absorb liquid and expand, creating a physical barrier between the protein strands. This prevents the beef from shrinking and squeezing out its juices during the cook.
2. The Gentle Fold
Incorporate your beef, the hydrated panade, egg, and seasonings. Use a light touch; do not mash the meat. Use a bench scraper to portion the mix into oval shapes.
Pro Tip: Overworking the meat causes the proteins to cross-link too tightly. This results in a rubbery texture. By keeping the mixture aerated and loose, you preserve the "tender-crumb" feel that defines high-end salisbury ground beef recipes.
3. Achieve the Maillard Reaction
Heat your heavy-bottomed skillet over medium-high heat with a teaspoon of neutral oil. Place the patties in and do not touch them for three minutes. Flip only once.
Pro Tip: This creates enzymatic browning, also known as the Maillard reaction. This chemical reaction between amino acids and reducing sugars creates hundreds of different flavor compounds that simply do not exist in boiled or steamed meat.
4. Sauté and Deglaze
Remove the beef and add your mushrooms and onions to the rendered fat. Once they are dark and soft, pour in a splash of dry sherry or broth to scrape up the brown bits.
Pro Tip: Those brown bits are called fond. Deglazing is the technical process of dissolving these caramelized proteins back into a liquid state. This is where 80 percent of your gravy's flavor lives.
5. Emulsify the Gravy
Sprinkle flour over the vegetables to create a roux, then slowly whisk in your broth. Use a saucier or a whisk to ensure no lumps remain.
Pro Tip: You are creating a stable emulsion. The flour coats the fat droplets, allowing them to suspend evenly in the watery broth. This results in a silky, viscous sauce that coats the back of a spoon perfectly.
6. The Low Simmer
Return the patties to the gravy. Cover and simmer on low for ten minutes.
Pro Tip: This step utilizes thermal carryover. The internal temperature of the beef will rise slowly and evenly within the humid environment of the gravy, ensuring the center is cooked through without the exterior becoming tough.
The Deep Dive
From a nutritional standpoint, this dish is a protein powerhouse. A standard serving provides roughly 30 grams of protein and is rich in iron and B-vitamins. If you are watching calories, you can use ground turkey, though you must add a teaspoon of olive oil to the mix to compensate for the lower fat content.
Dietary Swaps: For a Keto version, replace breadcrumbs with crushed pork rinds and use heavy cream or xanthan gum to thicken the gravy instead of flour. For Gluten-Free needs, a 1:1 GF flour blend works perfectly for the roux. Vegan enthusiasts can utilize lentil-based "meat" patties and a rich vegetable demi-glace made with soy sauce and balsamic vinegar for that missing umami.
The Fix-It:
- Grainy Gravy: This happens if the flour didn't cook long enough in the fat. Fix it by whisking in a tablespoon of cold butter at the very end to smooth out the texture.
- Falling Apart Patties: Your panade was too dry. Next time, ensure the paste is fully hydrated before adding the meat.
- Bland Flavor: It likely needs acid. Add a tiny splash of apple cider vinegar or lemon juice to the gravy right before serving to brighten the heavy fats.
Meal Prep: Salisbury steak is actually better the next day. The flavors infuse and deepen overnight. To reheat, avoid the microwave if possible. Instead, place the patties and gravy in a small pan with a tablespoon of water, cover, and heat on low. This prevents the fats from "breaking" and keeps the meat succulent.
The Wrap-Up
You now hold the keys to the kingdom of comfort food. By understanding the chemistry of the panade and the magic of the Maillard reaction, you have transformed basic ingredients into a culinary staple. These salisbury ground beef recipes are more than just a meal; they are a testament to how professional techniques can elevate everyday cooking. Now, go grab your tongs, fire up that skillet, and show your kitchen who is boss!
The Kitchen Table
How do I keep my Salisbury steak from being tough?
Avoid over-mixing the meat and always use a panade. A panade of breadcrumbs and liquid keeps the protein fibers from tightening, ensuring the patty remains tender and juicy throughout the cooking process.
What is the best beef to use for Salisbury steak?
An 80/20 ground chuck is ideal. The 20 percent fat content provides the necessary moisture and flavor, while also creating the base for a rich, flavorful gravy during the rendering process.
Can I make Salisbury steak ahead of time?
Yes, it is an excellent meal prep dish. Store the patties submerged in the gravy in an airtight container. Reheat slowly on the stovetop to maintain the emulsion of the sauce and the texture of the beef.
Why is my gravy lumpy?
Lumps occur when flour is added to liquid too quickly. To fix this, always whisk the flour into the fat first to create a roux, then slowly incorporate the liquid while whisking constantly.