
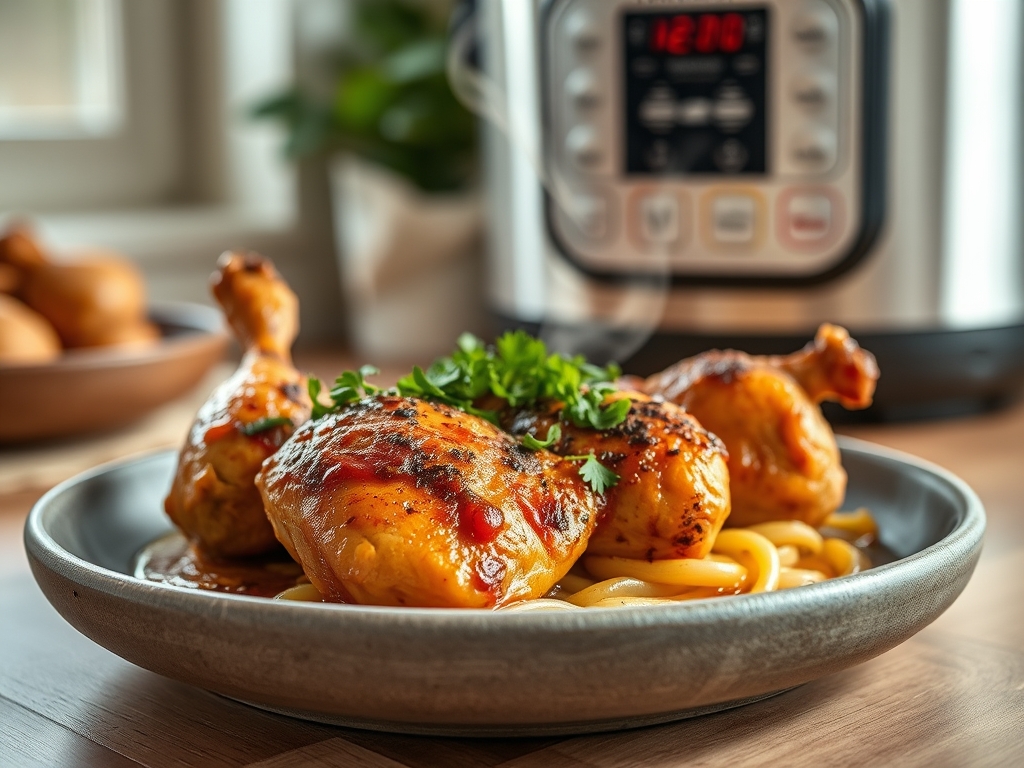
Picture the scene where your kitchen is filled with the piquant aroma of toasted cumin and searing poultry. You are tired; the day was long; yet you deserve a meal that tastes like it simmered for hours on a French stove. This is where the magic of high pressure meets culinary intuition. Finding the perfect chicken recipes instant pot enthusiasts swear by is not just about convenience; it is about mastering the physics of moisture. When we use a pressure cooker, we are essentially forcing liquid into the muscle fibers at an accelerated rate. This prevents the dreaded chalky texture of overcooked breast meat while simultaneously breaking down collagen in thighs until they are butter-soft. We are going to transform seven basic flavor profiles into gourmet realities using nothing more than a few pantry staples and a bit of scientific flair. Grab your favorite apron and a glass of wine. We are about to turn your kitchen into a high-pressure laboratory of flavor where speed never compromises the soul of the dish.
The Gathers:
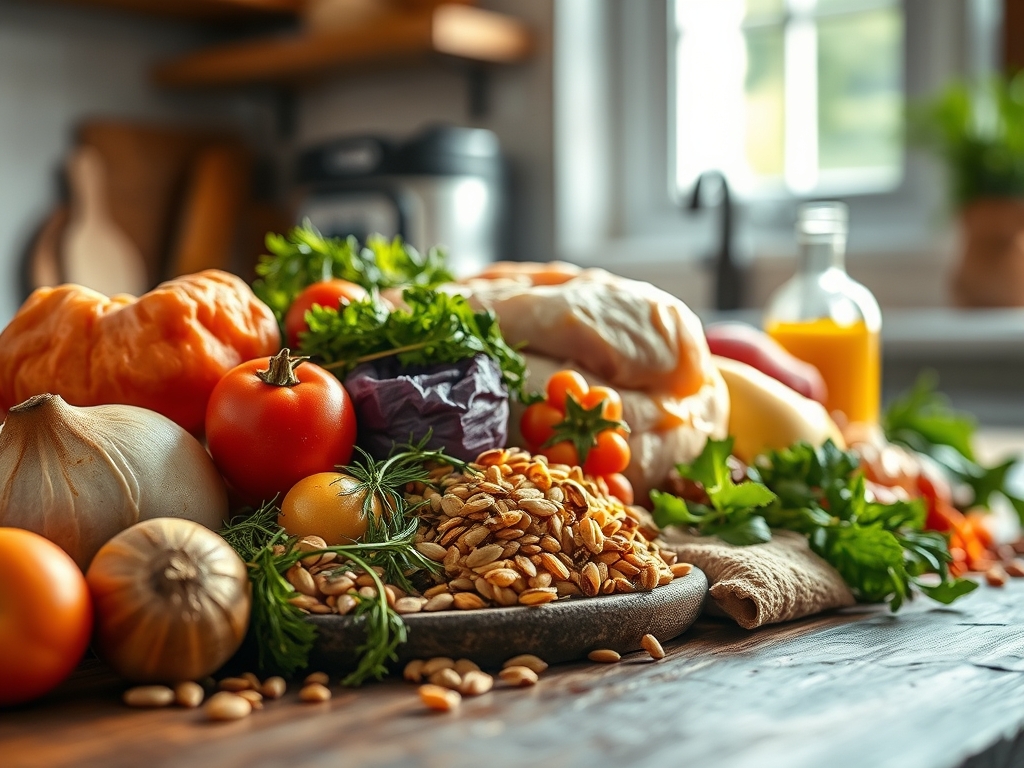
Before we engage the heating element, we must respect the mise-en-place. For these seven chicken recipes instant pot success depends on the quality of your aromatics. You will need a digital scale to ensure your ratios are precise; especially when balancing the salinity of soy sauce against the acidity of lime. Our core palette includes bone-in, skinless thighs for maximum gelatin release and lean breasts for those tracking macros.
Gather your aromatics: fresh ginger roots that feel heavy for their size; garlic cloves that have not yet sprouted; and shallots for a more delicate, viscous base than standard yellow onions. You will also need a high-smoke-point fat like avocado oil or ghee to facilitate the Maillard reaction during the initial sauté phase.
Smart Substitutions:
If you find yourself without fresh aromatics, do not reach for the dusty powder in the back of the cabinet. Use a microplane to grate frozen ginger or use a fermented chili paste like gochujang to add depth and heat simultaneously. For a dairy-free creaminess, full-fat coconut milk provides the necessary lipids to carry flavor without curdling under high pressure. If a recipe calls for white wine to deglaze, a splash of verjus or a light chicken stock spiked with apple cider vinegar will provide that essential piquant lift.
The Clock:
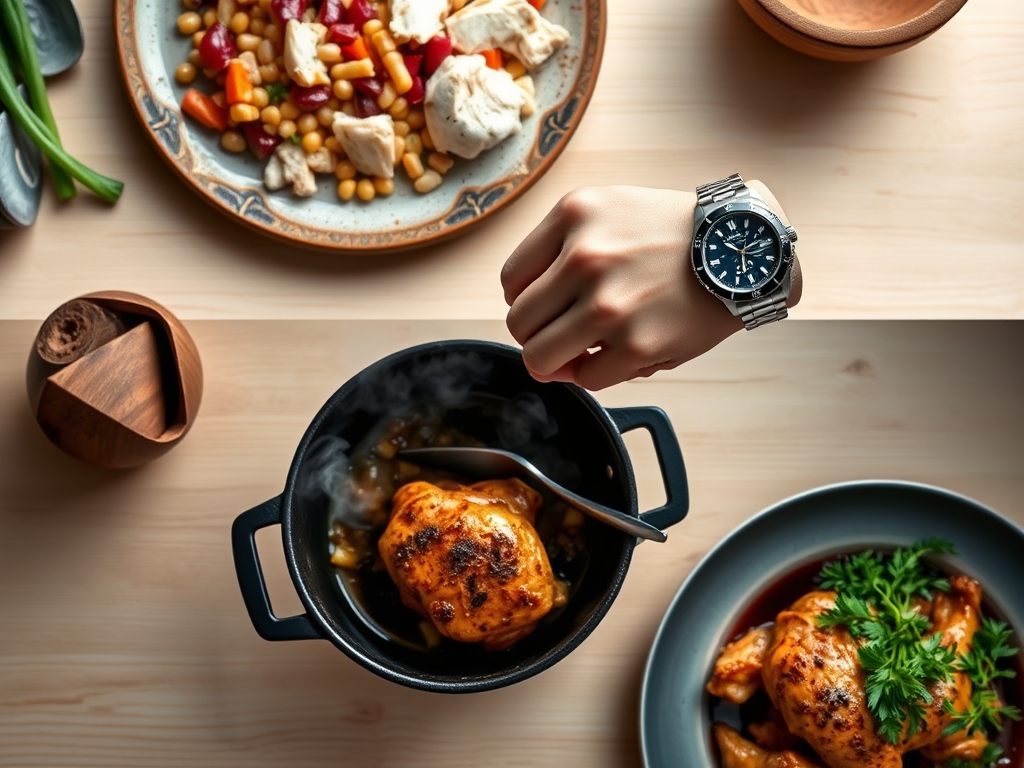
Efficiency in the kitchen is about the Chef's Flow. This is the art of overlapping tasks so that no second is wasted. While your Instant Pot is preheating on the "Sauté" function, you should be dicing your mirepoix. Most of these meals require a 5 to 8 minute active prep time followed by a 10 to 12 minute high-pressure cycle.
However, the "hidden" time is the pressure build and the natural release. A total "gate-to-plate" time of 35 minutes is standard. Use the pressurization period to clean your bench scraper and wipe down your stations. If you are making a side of grains, use a separate rice cooker or a heavy-bottomed skillet for a quick toasted couscous. The goal is to have the table set and the wine poured the moment the pin drops.
The Masterclass:
1. The Sear and Sizzle
Start by hitting the sauté button and waiting for the "Hot" indicator. Add your fat and place the chicken in a single layer. Use tongs to ensure even contact. Do not move the meat for at least three minutes.
Pro Tip: This stage is about enzymatic browning. By allowing the proteins to bond with the sugars in the meat, you create a complex flavor profile that pressure cooking alone cannot achieve.
2. Deglazing the Fond
Once the chicken is browned, remove it. Pour in your liquid; wine, stock, or juice; and use a wooden spoon to scrape the brown bits (the fond) off the bottom.
Pro Tip: If you do not deglaze properly, you risk the "Burn" notice. This liquid also acts as the heat transfer medium required to create the steam that builds pressure.
3. Layering the Aromatics
Return the chicken to the pot and layer your delicate vegetables on top. Do not stir. You want the hardier items on the bottom and the aromatics infused in the steam.
Pro Tip: This creates a convection effect within the sealed chamber, allowing the volatile oils from herbs like thyme or rosemary to permeate the meat without becoming bitter.
4. Sealing and Timing
Lock the lid and set the vent to "Sealing." Select high pressure for the duration specified by the cut of meat (usually 8 minutes for breasts, 12 for thighs).
Pro Tip: Pressure cooking raises the boiling point of water to roughly 250 degrees Fahrenheit. This accelerates the hydrolysis of collagen, turning tough connective tissue into silky gelatin in a fraction of the time.
5. The Natural Release
When the timer beeps, wait at least 10 minutes before venting the steam manually.
Pro Tip: This prevents thermal shock. A sudden drop in pressure causes the moisture inside the chicken to boil rapidly and escape, leaving the meat dry. A slow release allows the fibers to relax and reabsorb the juices.
6. The Emulsification Finish
Remove the chicken and switch back to sauté. If the sauce is too thin, whisk in a slurry or a knob of cold butter.
Pro Tip: This is the process of emulsification, where fats are suspended in liquid to create a glossy, viscous sauce that clings to the meat rather than puddling on the plate.
7. The Final Rest
Let the chicken rest on a warm platter for five minutes before slicing or shredding.
Pro Tip: Thermal carryover continues to cook the center of the meat even after it is out of the pot. Resting ensures that the internal temperature stabilizes and the juices stay put.
The Deep Dive:
Macro Nutrition:
On average, a 6-ounce serving of these chicken recipes provides 35 to 45 grams of high-quality protein with varying fat content depending on the cut. By controlling the lipids added during the sear, you can keep the caloric density manageable while maximizing the satiety index.
Dietary Swaps:
For a Keto version, replace any thickening starches with a splash of heavy cream or xanthan gum. For Vegan guests, the same flavor bases work beautifully with extra-firm tofu or seitan; just reduce the pressure time to 3 minutes. For a Gluten-Free approach, ensure your chicken stock is certified and use tamari instead of soy sauce.
The Fix-It:
- The Burn Notice: This usually means there is not enough thin liquid. Add a half-cup of water or stock and ensure no bits are stuck to the bottom.
- Tough Meat: You likely performed a Quick Release too soon. Next time, let the pressure drop naturally to keep the fibers tender.
- Bland Sauce: The high pressure can dilute flavors. Finish the dish with a "brightener" like lemon juice, fresh herbs, or a dash of fish sauce to wake up the palate.
Meal Prep Science:
To maintain "day-one" quality, store the chicken in its own cooking liquid. This prevents oxidation and dehydration. When reheating, use a saucier over medium-low heat rather than a microwave. This gentle warming prevents the proteins from tightening up and becoming rubbery.
The Wrap-Up:
Mastering chicken recipes instant pot style is about more than just pressing buttons; it is about understanding the intersection of heat, pressure, and time. By utilizing techniques like deglazing and natural release, you elevate a simple weeknight staple into a culinary event. You now have the tools, the science, and the confidence to experiment with bold flavors and textures. Go forth and conquer your kitchen with the wit of a scientist and the heart of a chef. Your dinner table is waiting for its next masterpiece!
The Kitchen Table:
Can I cook frozen chicken in the Instant Pot?
Yes, you can cook frozen chicken safely. Increase the pressure cook time by 50 percent and ensure the pieces are separated. Always use a meat thermometer to verify the internal temperature has reached a safe 165 degrees Fahrenheit.
Why is my chicken always rubbery?
Rubbery chicken is usually the result of a Quick Release. The sudden pressure drop causes the muscle fibers to contract violently, squeezing out moisture. Always allow for at least a 10 minute natural release to keep the texture succulent and tender.
How much liquid is actually necessary?
Most 6-quart models require at least one cup of thin liquid to create enough steam to reach pressure. Thicker sauces like barbecue or cream of mushroom should be layered on top of the chicken to avoid scorching the bottom sensor.
Can I use the same timing for bone-in chicken?
Bone-in cuts require more time because the bone acts as an insulator. Add 2 to 3 minutes to the high-pressure cycle. The benefit is a deeper flavor profile and more gelatin, which creates a much richer, more viscous sauce.