
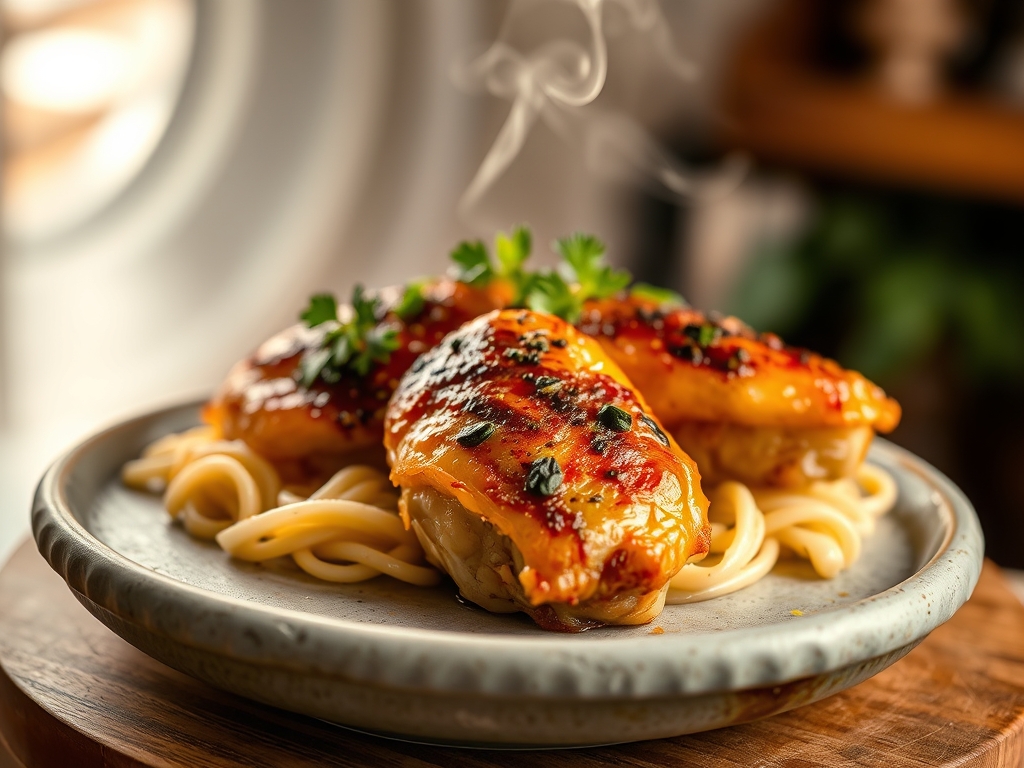
Picture this: a heavy-bottomed skillet sizzling on the range, the sound of cold fat meeting hot steel, and the intoxicating aroma of rendering poultry skin filling your kitchen. We are not just making dinner; we are mastering the architectural marvel of the culinary world. When you search for airline chicken recipes, you are looking for that perfect balance of a skin-on breast with the drumette attached. This specific cut, often called a statler breast, is the secret weapon of professional chefs because the bone acts as a thermal conductor, keeping the white meat succulent while the skin transforms into a glass-like sheet of golden crackle. It is elegant, structurally sound, and surprisingly easy to execute once you understand the physics of the pan.
The beauty of the airline cut lies in its versatility. Whether you are aiming for a classic French pan sauce or a bright Mediterranean herb crust, the bone-in preparation ensures your protein stays resilient against the dry heat of the oven. We are moving past the days of rubbery, skinless breasts. Today, we embrace the moisture-locking power of the wing joint. By the time we finish, you will have ten distinct flavor profiles in your repertoire, each utilizing the same foundational techniques to achieve restaurant-grade results. Let us get your mise-en-place ready and dive into the mechanics of the perfect sear.
The Gathers:
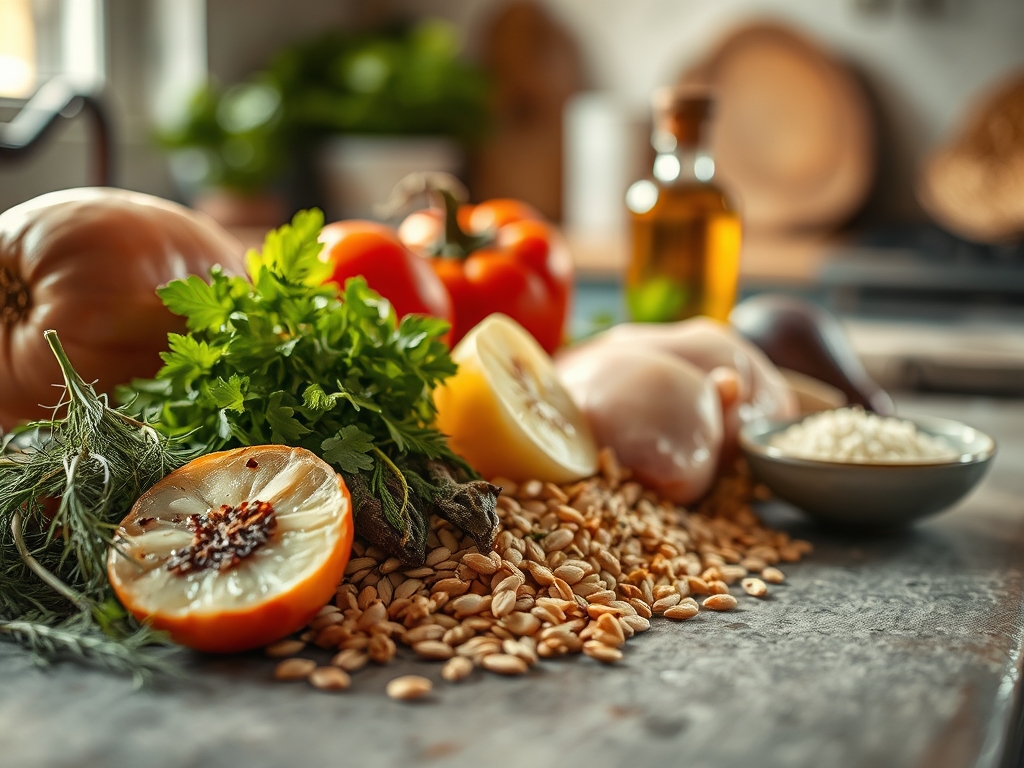
To execute these airline chicken recipes with precision, your station must be organized. Start with high-quality, air-chilled chicken breasts. Air-chilling is superior to water-chilling because it prevents the meat from absorbing excess water, which would otherwise steam in the pan and ruin your crust. You will need a high-smoke-point fat, such as clarified butter or grapeseed oil; avoid extra virgin olive oil for the initial sear as its solids will burn at the temperatures required for the Maillard reaction.
Your aromatics are the soul of the dish. Gather fresh thyme, rosemary, and smashed garlic cloves to infuse the fat during the basting phase. For the sauces, keep a viscous chicken stock (preferably homemade or a high-quality demi-glace), chilled unsalted butter for mounting, and a piquant acid like dry white wine or fresh lemon juice.
Smart Substitutions: If you cannot find a true airline cut, you can use a standard bone-in, skin-on breast, though the presentation will lack the iconic "wing-up" silhouette. For a dairy-free version, swap the butter for a high-quality avocado oil or a vegan butter substitute that contains lecithin, which helps with emulsification. If you are watching sodium, use a splash of verjus instead of wine to provide acidity without the fermented bite.
The Clock:
Mastering the "Chef's Flow" is about overlapping tasks to minimize downtime. The total active time for these recipes is approximately 20 minutes, with a 15 to 20-minute roasting period.
- The Chill-Off (15 mins): Remove the chicken from the refrigerator. Tempering the meat ensures even heat distribution. Use this time to sharpen your chef's knife and prep your aromatics.
- The Sear (8 mins): This is the high-intensity phase. You are rendering the subcutaneous fat and developing flavor.
- The Roast (12-18 mins): The chicken moves to a 400F oven. This is when you prep your side dishes or whisk together a cold vinaigrette.
- The Rest (5-10 mins): Non-negotiable. This allows the muscle fibers to relax and reabsorb the juices.
The Masterclass:
1. Surface Preparation and Desiccation
Before the chicken ever touches the pan, you must use a paper towel to pat the skin bone-dry. Any residual moisture will create a layer of steam, preventing the skin from becoming crisp. Season aggressively with kosher salt from a height to ensure even distribution.
Pro Tip: This is known as surface desiccation. Salt draws moisture out of the skin via osmosis, which then evaporates, allowing the proteins and sugars to react more quickly for a deeper Maillard reaction.
2. The Cold-Pan Start or High-Heat Sear
Place the chicken skin-side down in a heavy-bottomed skillet. If you want maximum fat rendering, start in a lukewarm pan and gradually increase the heat. For a faster crust, go into a hot pan with a thin film of shimmering oil. Use a weight or a heavy press to ensure the entire surface of the skin makes contact with the metal.
Pro Tip: Conductive heat transfer is most efficient when there is direct contact. Using a weight prevents the chicken from curling as the proteins denature and contract.
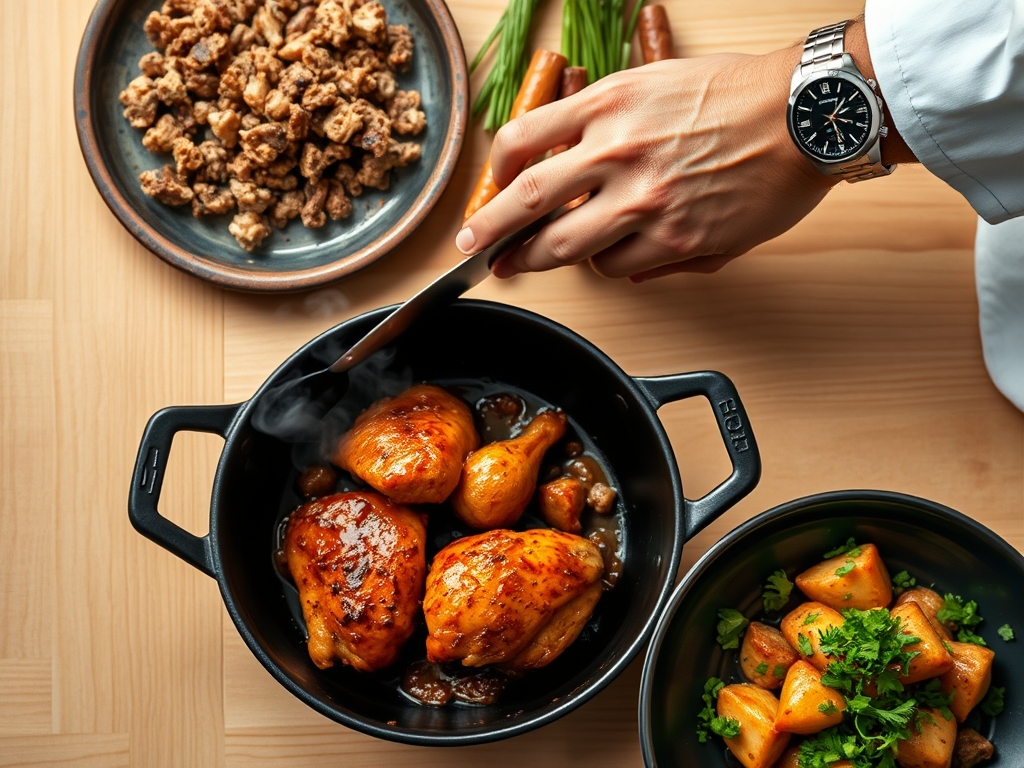
3. Rendering and Basting
Once the skin is golden and releases easily from the pan, add your aromatics and a knob of butter. Tilt the pan and use a large spoon to continuously bathe the meat in the foaming fat. This is called "arroser."
Pro Tip: Basting creates a convection effect within the fat, cooking the top of the meat gently while the bottom continues to sear. This adds a nutty, toasted flavor profile known as beurre noisette.
4. The Oven Finish
Transfer the entire skillet into a preheated oven. The goal is an internal temperature of 160F. The temperature will continue to rise once removed from the heat.
Pro Tip: This is thermal carryover. If you pull the chicken at exactly 165F, it will likely climb to 170F or higher while resting, resulting in dry fibers.
5. Deglazing and Emulsification
Remove the chicken to a warm plate. Pour off the excess fat, but keep the brown bits (the fond). Add your wine or stock, using a whisk or a bench scraper to lift the flavor from the bottom. Reduce the liquid by half and whisk in cold butter cubes.
Pro Tip: Deglazing dissolves the caramelized proteins. Adding cold butter at the end creates a stable emulsion, giving your sauce a glossy, velvet-like texture.
The Deep Dive:
Macro Nutrition: A standard 6-ounce airline chicken breast provides approximately 40 grams of high-quality protein and 12 grams of fat (mostly from the skin). It is naturally low-carb and high in essential minerals like phosphorus and selenium.
Dietary Swaps:
- Keto: Focus on heavy cream-based pan sauces and omit any flour-based thickeners.
- Vegan: While this specific cut is meat-centric, the technique of "pressing" can be applied to large oyster mushrooms or cauliflower steaks to achieve a similar sear.
- GF: Use arrowroot powder or a simple reduction instead of a flour roux to thicken your sauces.
The Fix-It:
- Soggy Skin: You likely crowded the pan. If you put too many breasts in one skillet, the temperature drops and the meat steams. Fix: Finish under a high broiler for 60 seconds.
- Dry Meat: You skipped the rest period. Fix: Slice the meat and pour a warm, fat-rich sauce over it immediately to "rehydrate" the surface.
- Burnt Fond: Your heat was too high during the sear. Fix: Do not deglaze the burnt bits; they will taste bitter. Wipe the pan and start the sauce fresh with a bit of demi-glace.
Meal Prep: To reheat and maintain "day-one" quality, avoid the microwave. Use a toaster oven at 350F or a covered skillet with a teaspoon of water to create a gentle steam environment that won't toughen the proteins.
The Wrap-Up:
You are now equipped to handle airline chicken recipes like a seasoned professional. By focusing on the science of heat transfer and the chemistry of the Maillard reaction, you have transformed a simple poultry dish into a culinary masterpiece. Remember, the secret is in the skin and the bone; treat them with respect, and they will reward you with the juiciest dinner of your life. Now, grab your favorite skillet and get searing!
The Kitchen Table:
Why is it called airline chicken?
The name originated during the golden age of travel when airlines required a cut that was easy to eat with a plastic knife while remaining moist under warming lights. The attached wing bone provided the necessary structural integrity.
Can I use a non-stick pan?
While possible, a stainless steel or cast iron skillet is preferred. These materials allow for the formation of fond, the caramelized bits essential for a flavorful deglazed pan sauce that non-stick surfaces prevent.
How do I know when the chicken is done?
Use a digital thermometer to check the thickest part of the breast. Pull it at 160F; the temperature will rise to the food-safe 165F during the resting phase due to residual heat.
Should I marinate airline chicken?
A dry brine is more effective for crispy skin. Rub the chicken with salt and spices and let it sit uncovered in the fridge for two hours. This dries the skin while deeply seasoning the meat.